If you own a WordPress website, chances are that you will have to move it from one host to another at some time during its lifetime.
You could be moving to a new host for a variety of reasons. Better performance is usually a driver for this type of change. Moving a website from a local or development environment is also a good reason to move your site from being hosted locally, to a web host.
You could also outgrow your current web hosting, which is a great problem to have. You may have begun your journey on a managed host such as WordPress.com, and now desire more features or control. A move to a self hosted WordPress is the solution for these and many other scenarios.
You could be migrating a single site to a multisite installation for easier management. You could be moving from multisite to a single site installation. The list goes on.
This article is the ultimate guide for WordPress migrations. We will provide you with an understanding of several different methods to migrate your site’s files and database. The goal of this guide is to help guide you with your migration and ultimately, ensure its success.
In This Guide to Migrating WordPress Websites:
Automated or Manual WordPress Migration?Preparing for Your WordPress MigrationWordPress Migration PluginsTotal UpkeepDuplicatorUpdraftPlusAll-In-One WP MigrationWP Migrate LiteMigrate GuruOther WordPress Plugin OptionsManually Migrating WordPressSSHSCPsFTPRSYNCMySQL Command Line ClientFTPFile ManagerphpMyAdmin or AdminerMigrating from a Hosting BackupPreviewing Your Site After the Big MoveYour Domain & DNSConclusionAutomated or Manual WordPress Migration?When you decide to migrate your site, you have a few options to consider. You can choose between some automated methods using WordPress plugins, or you can go the manual route and move your files and database.
When making the decision on how to handle the migration, answering a few key questions can help you avoid problems during the process.
How straightforward is your site? If you have a custom build, or run other systems in conjunction with WordPress, you may want to consider moving your site manually. If your site is small and not too complex, then your migration should be problem free using an automated system such as a WordPress Plugin or Platform i.
How busy is your site? If your site gets a lot of traffic, then you want to consider the least busy time period in case there is some downtime during the move. In most cases you can avoid downtime, but ensuring it has the least impact if it happens is a good idea.
A busy site is also likely to change while you are in the process of migrating the files. In scenarios such as this, a MySQL resync may be needed but can be easily done to ensure your data is kept intact.
How large is your site? Checking your disk usage is a good idea when you are thinking about migrating your website. Larger sites that are 10 GB or more usually go smoother with a manual migration, leveraging something like sFTP or SCP via command line. Smaller sites have a much better chance of completing successfully using automated transfer methods, such as WordPress plugins.
A successful site transfer can be performed for all websites with proper planning. Of note, that planning should always include a contingency plan. Something I like to jokingly call an undo button, but am always very serious about having in place. It only takes one irreversible mistake to learn the lesson, and I hope my lesson can be shared with you to avoid it.
Preparing for Your WordPress MigrationWhen planning your WordPress migration, there are a few things you need to consider.
SpecificationsFirst, does the server you are moving to have the right specifications? Disk space and the PHP version are the most important things that come to mind, but you also want to be sure that it has the PHP modules and extensions you need and appropriate power such as enough CPU and RAM for your needs.
EmailWhere do you host email? If you are currently using a cPanel or Plesk host, chances are that you have an email setup on your domain. Changing your DNS can break your email, so be sure you prepare if you are moving between a web host that uses a panel such as cPanel or Plesk to one that doesn’t, you want to be sure to take your domain email into consideration.
MU-Plugins and Hosting Specific IntegrationsWhat, if any, integrations are applied currently that could break your site on another host? Depending on who you host with, you also want to look at platform specific plugins the host may have added to your site. These can be in the form of mu-plugins, wp-content drop in’s and scripts. Take a look in your site’s document root and wp-content folder to evaluate what you may want to remove or exclude during the migration.
SEO and RankingsYour organic search rankings are an important item to consider. When you accomplish the move, you want to ensure you retain the existing URL structure, markup, metadata and headings so that your search rankings are not impacted. Also, your website’s performance should remain consistent or better, now that page experience is part of the Google ranking algorithm.
MaintenancePreparing for a move is the perfect time to handle those pesky housekeeping tasks. Delete any unused plugins or themes, as having inactive code hanging around is just not a good practice in general. Make sure your WordPress core, plugins and themes are all up to date to minimize any conflicts on the server side. This is also a great time to check the site’s file path for larger files that can cause problems with migrations, such as core dumps or backups.
WordPress Migration PluginsThese days, migrating your website can be done with WordPress Plugins. In fact, in some cases this can be the easiest way to accomplish your move, depending on the plugin you select.
We have aggregated a list of what we believe to be the best free migration plugins for WordPress. This list is definitely not exhaustive, but you can always find new tools in the Plugins repository.
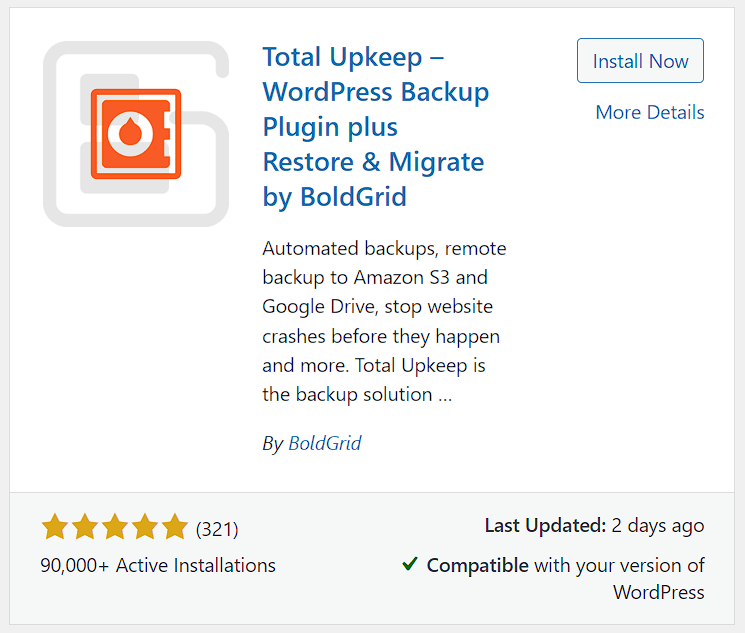
Total UpkeepTotal Upkeep provides a way to transfer your website from server to server, which can help save some time. The following steps are assuming you have the Total Upkeep WordPress Backup plugin installed on both the source website, and the destination you are moving to already.
 Taking a Backup for Migration
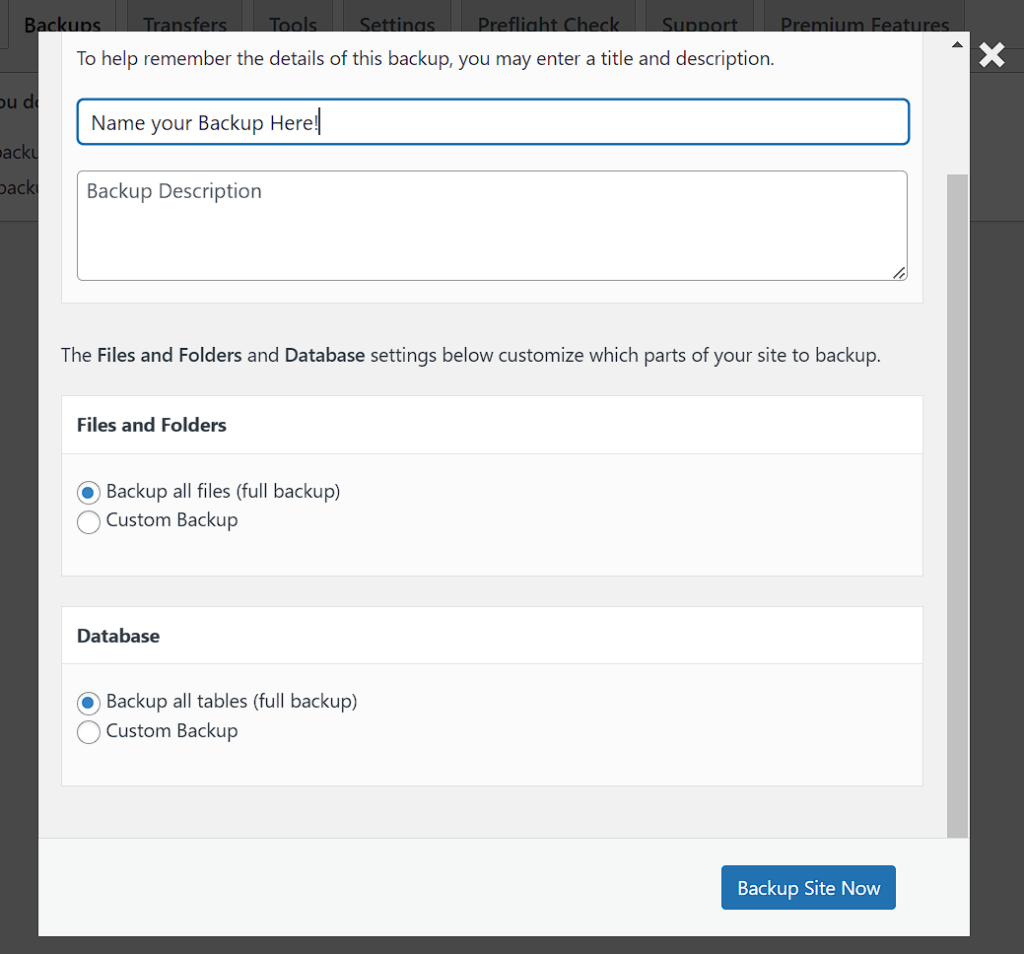
On the source site, navigate to Total Upkeep > Backup Archives and click on Backup Site Now.

Ensure that you have both options selected for Full Backup. Optionally, you may name your backup so that you can remember which one you used to migrate to your new host.
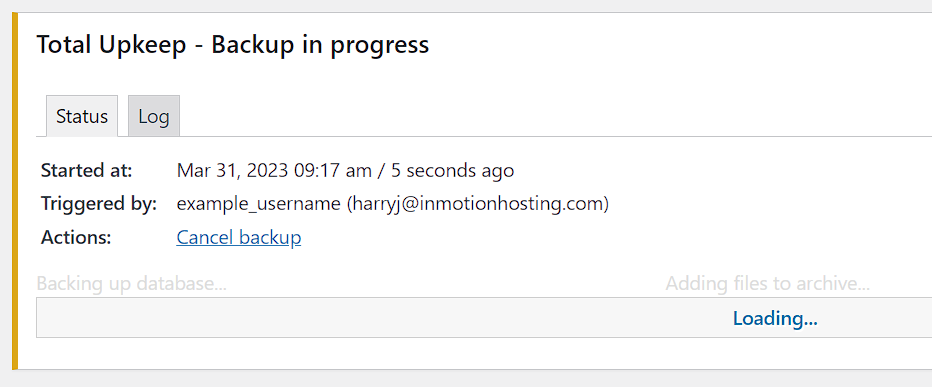
Allow time for the backup to complete.
Once the backup is complete, click View Details.
Ensure all of your files and database tables are included in the details.
Create a Download Link for the Backup on Your Source Site On your current site, navigate to Total Upkeep > Backup Archives > View DetailsClick Get Download Link and then Copy LinkAdd the Upload Link on Your New HostNavigate to Total Upkeep > Transfers > DestinationPaste the Download Link into the Download URL Address field and click UploadAllow time for the upload to complete. Click Restore. Acknowledge the warning that you may be logged out during the restoration process, you will use your username and password from your original host.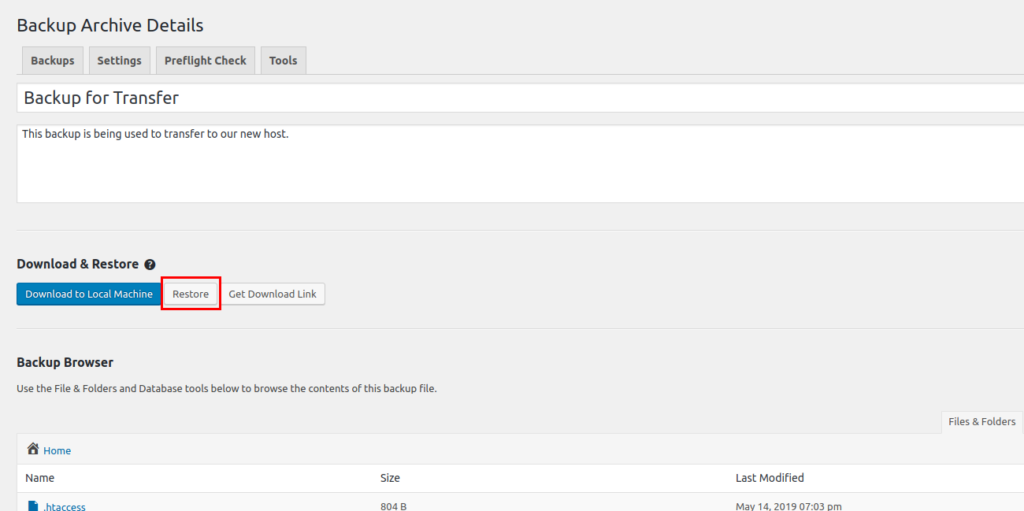 Duplicator
Duplicator gives WordPress users the ability to migrate, copy, move or clone a site from one location to another using their backups. The following steps are assuming you have the Duplicator WordPress Backup plugin installed on both the source website, and the destination you are moving to already.
 Export Your WordPress Installation by Creating a New Package
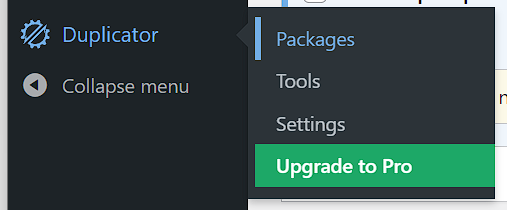
In your WordPress Dashboard, Navigate to Duplicator > Packages
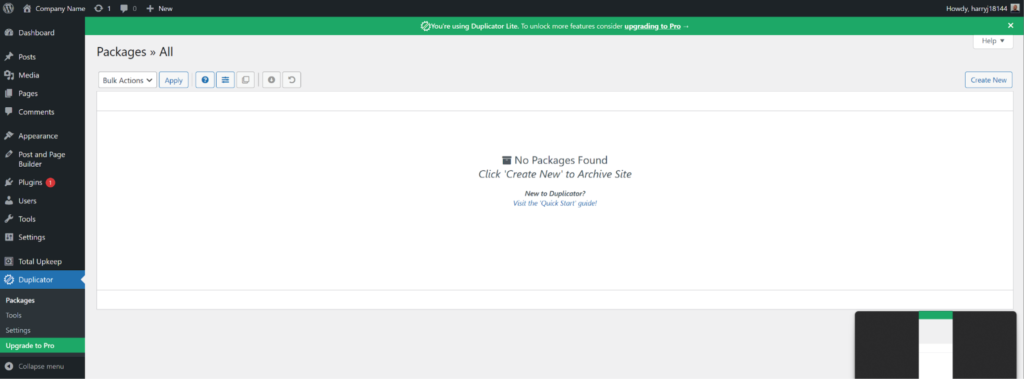
Create a new package using the button in the top right of the dashboard.
Here you can name your package, and set your storage, archive and installer options.
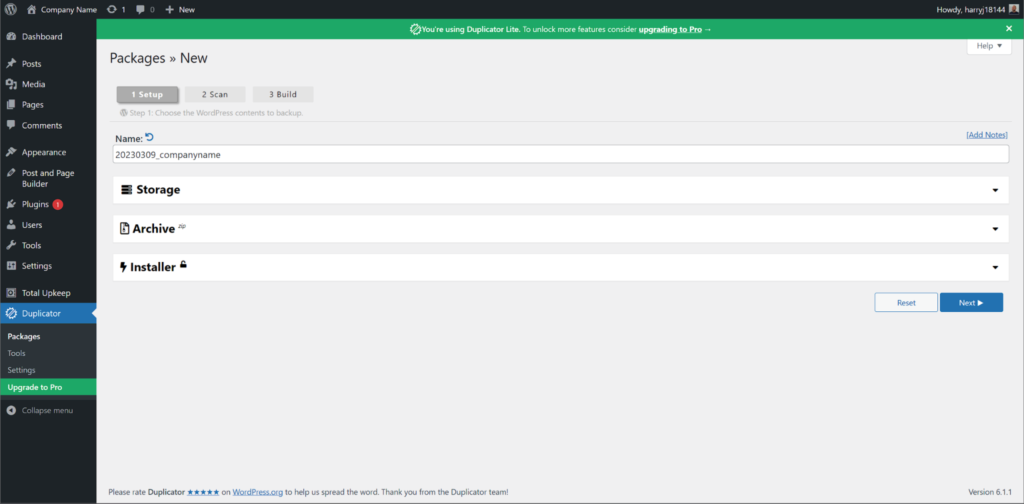
For Storage settings, it is unlikely you will need to change anything.

Here, you can select whether to include just the files, database, or both. For a WordPress migration, we recommend both.
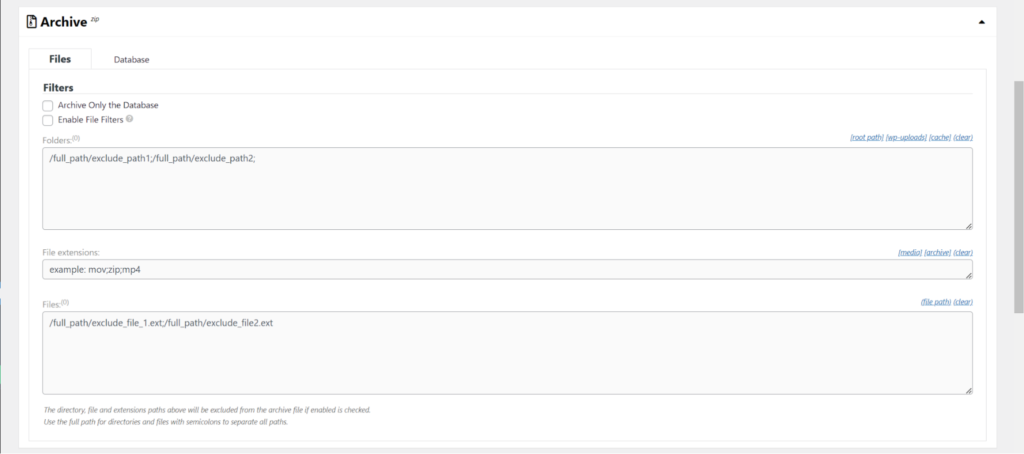
For the Installer options, these details are pretty straightforward. It is up to you if you choose to add a password for the restore. If you have customer details in your backup, this is recommended.
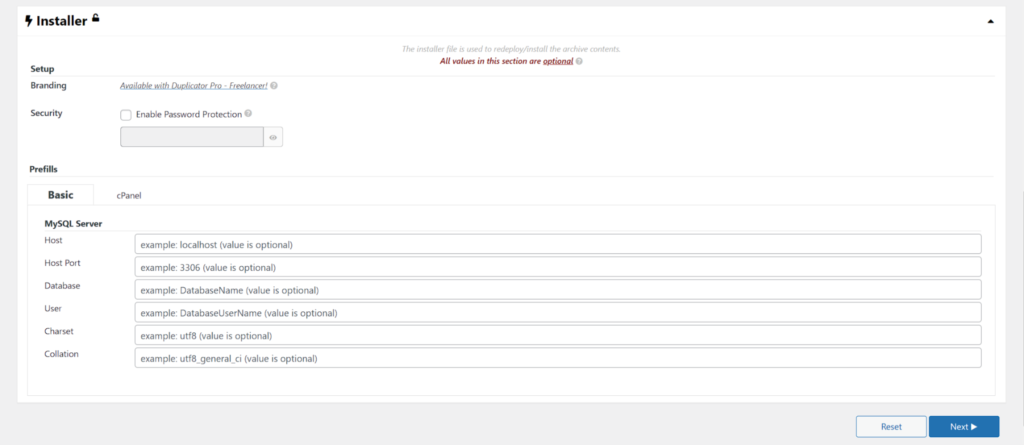
Click Next to begin the scan, it should complete pretty quickly.
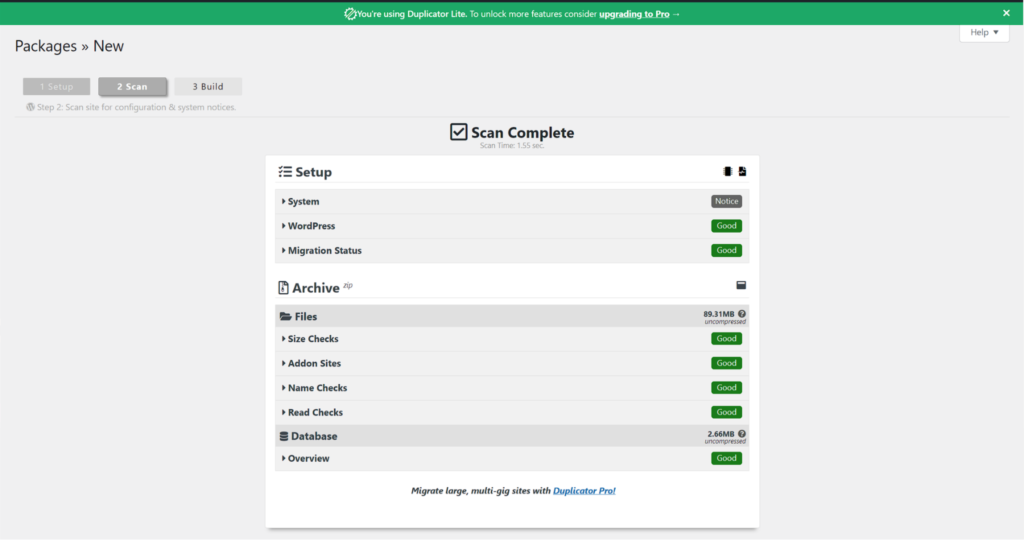
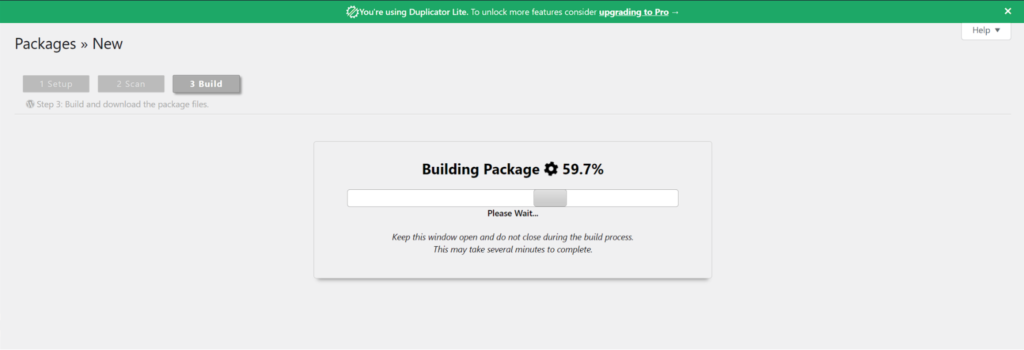
Once that is completed, you want to build the package.
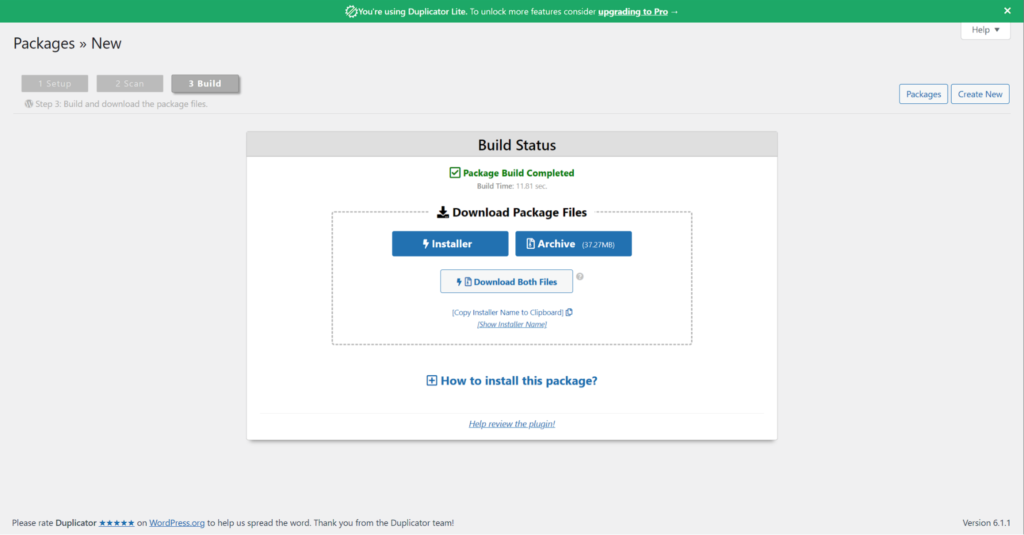
Here, you can download the package and installer to upload and restore on the destination host.
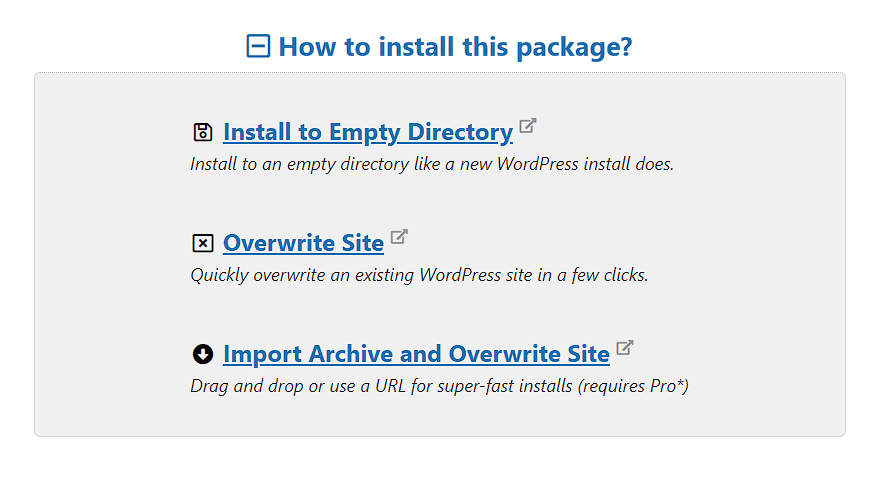
You are given a few options to restore your site here, but the recommendation we have is to overwrite the site, which we will walk you through in the next section.
 Migrating the Duplicator Package to Your New Host
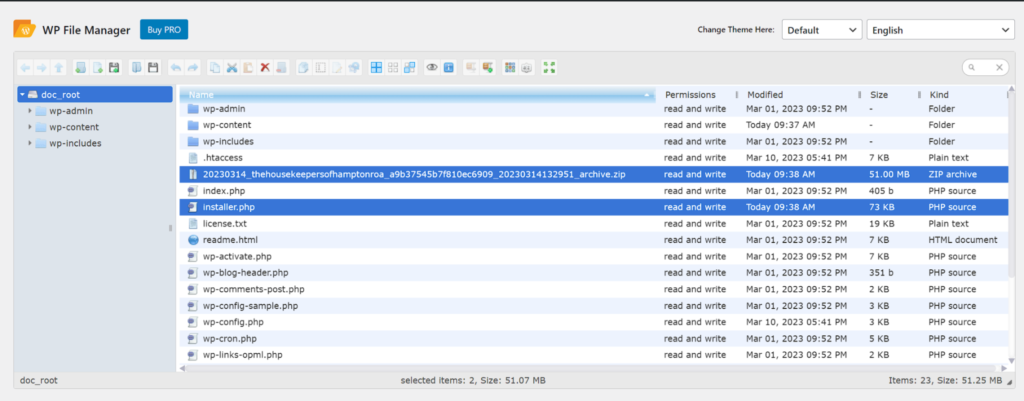
Next, go to the site or server you are moving to and upload the files you downloaded to your website’s document root. In this case, we named the file installer.php, so if you changed it you will need to use the same name. You can upload these files using sFTP, your hosting account’s file manager or even SSH with SCP or rsync, depending on what tools you have at your disposal.
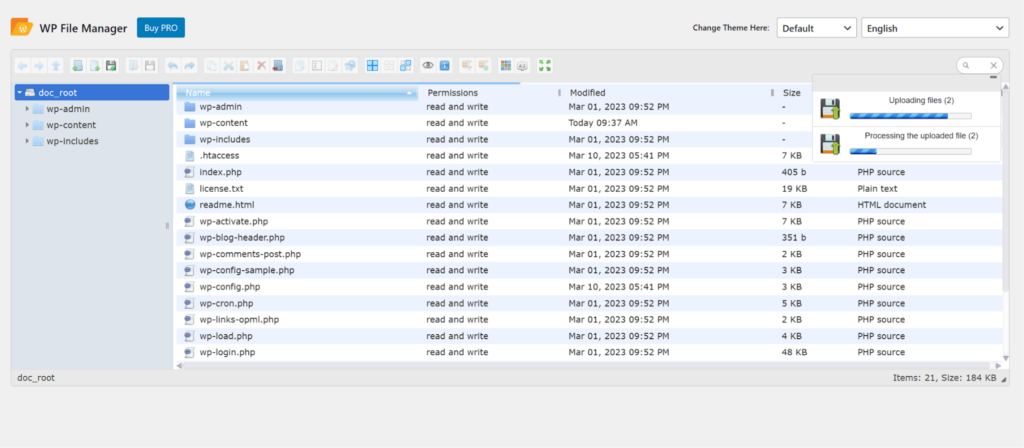
Once you have the files uploaded, it is time to restore them. This can be accomplished by running the included installer.php, or whatever you may have named the file in the earlier steps shown.
Restoring the Duplicator Package
To run the installer, I am visiting the URL of my website, with installer.php added to the end and am presented with this view:
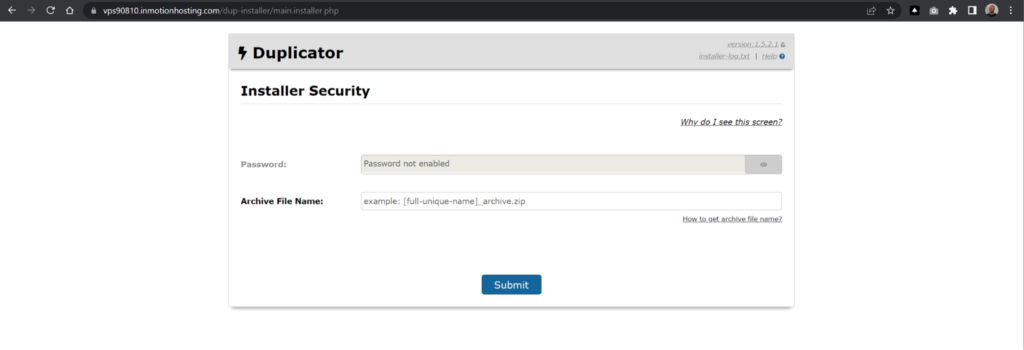
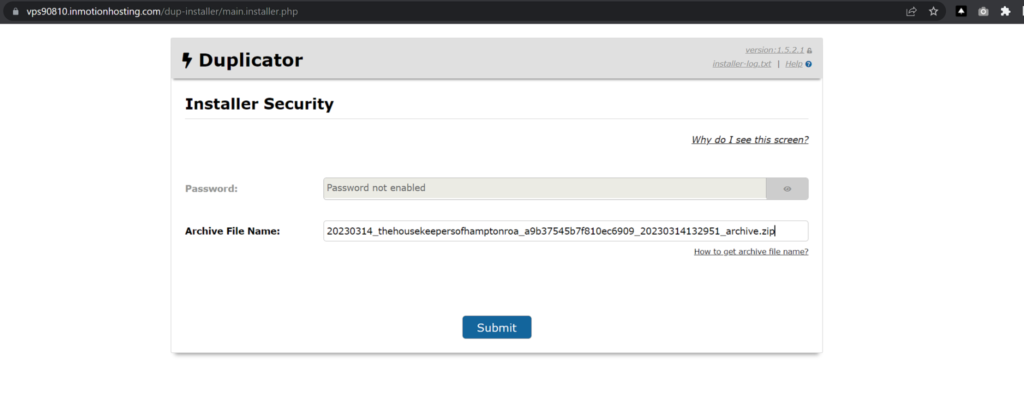
Add the archive name, and click Submit. You will be prompted for a password if you enabled one.
Next, you will see the database details. Click Apply to connect to the database.
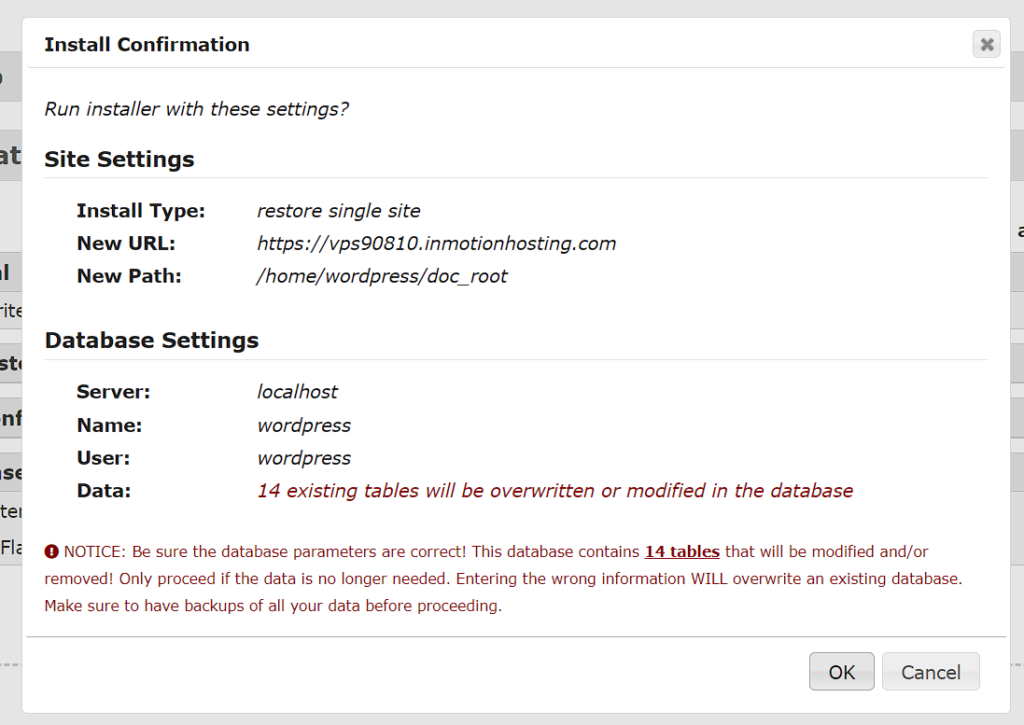
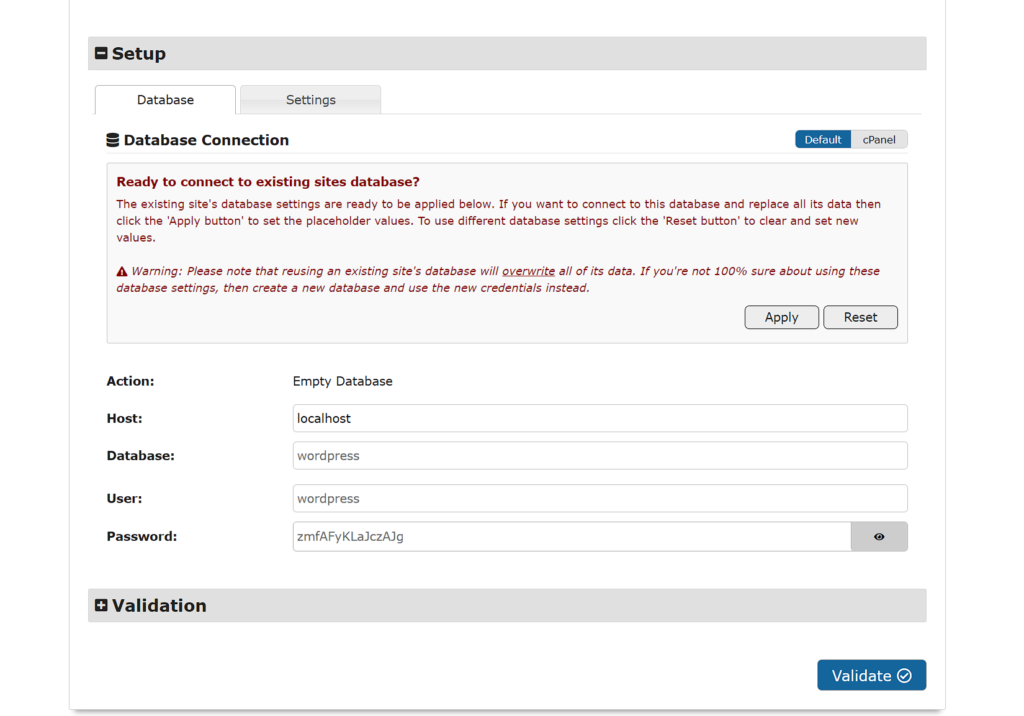 Warning: Please note that reusing an existing site’s database will overwrite all of its data. If you’re not 100% sure about using these database settings, then create a new database and use the new credentials instead.
Next, you will be presented with the following information. Accept the terms, and click Next to begin the restoration:
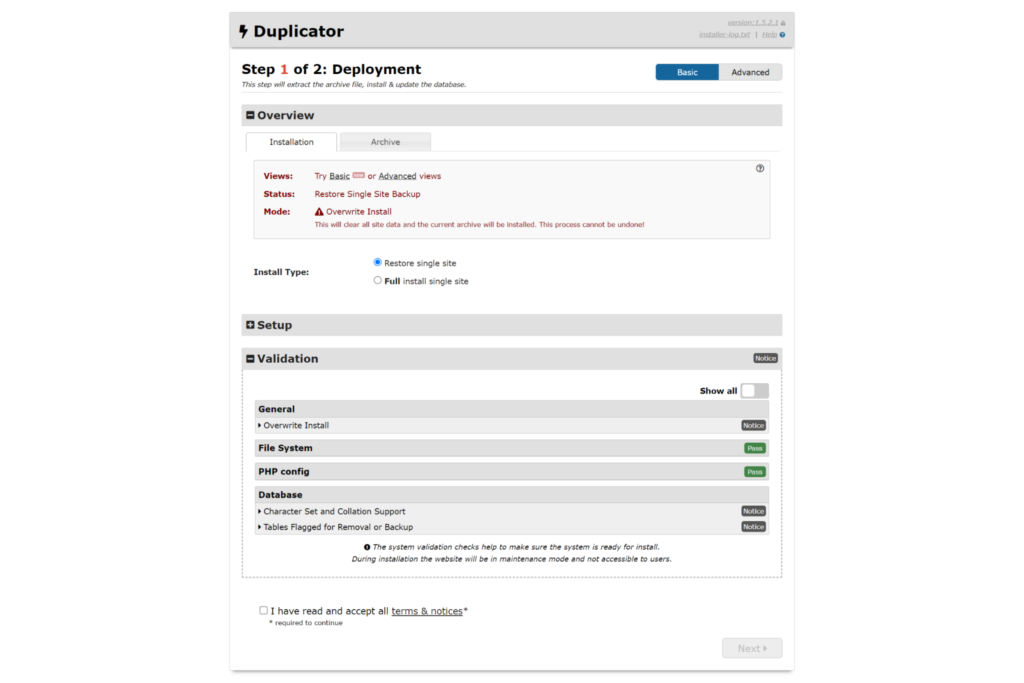
You will be asked to confirm the restoration:
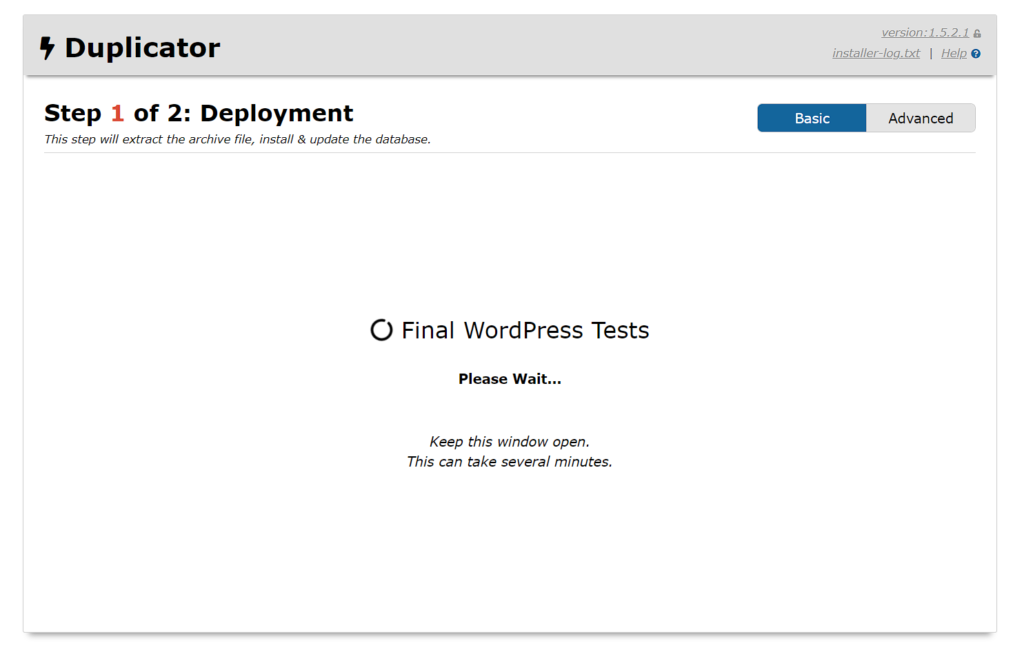
As the restoration is running, you will see information about what is happening.
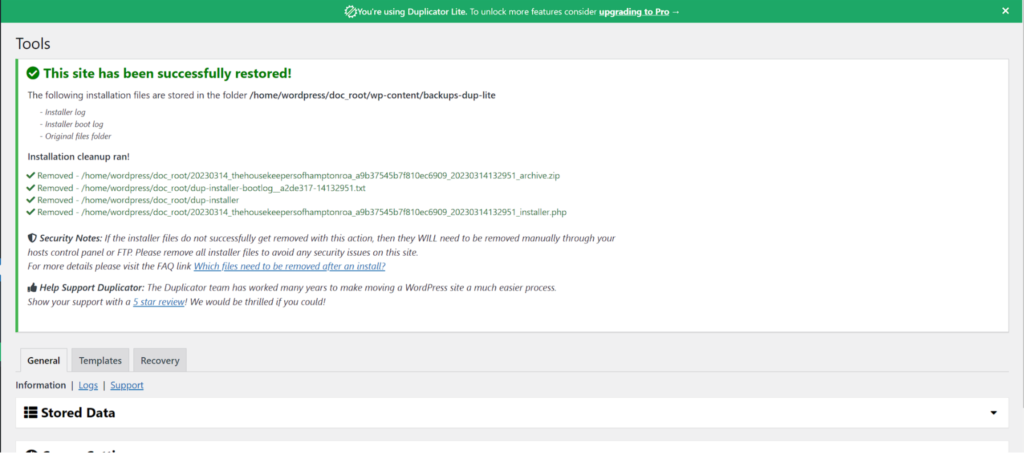
Once complete, you will see the following information.
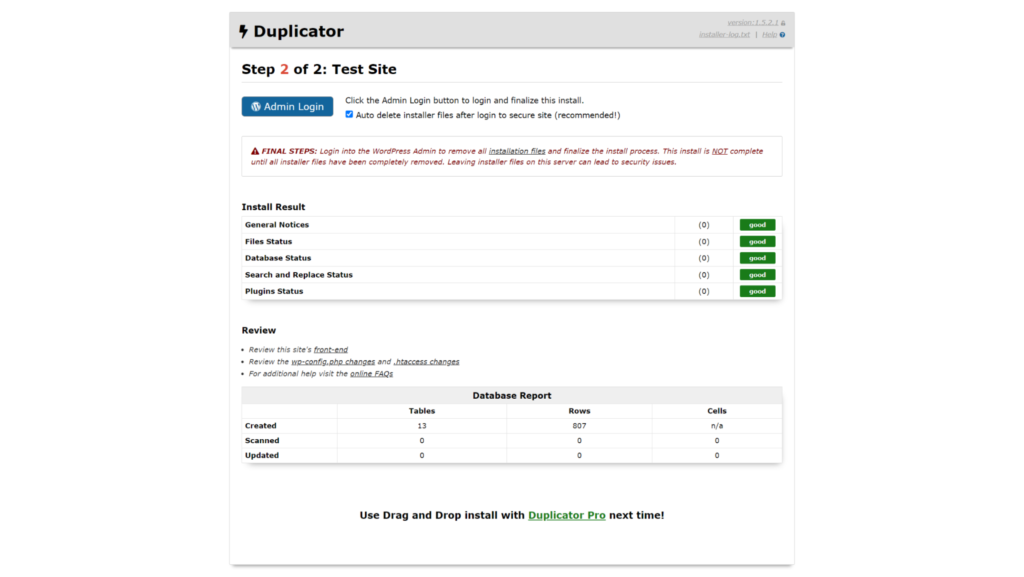
Once you login to your WordPress again, you will see the following information in your Dashboard:
 UpdraftPlus
UpdraftPlus is a WordPress Backup and Restoration plugin. Using this, we will be able to take a backup of your WordPress content, and restore it on the site you are wanting to migrate the content to. The following steps are assuming you already have this plugin installed on both the source and destination site, and will outline this process of taking a backup and restoring it.
 Taking a Backup with UpdraftPlus
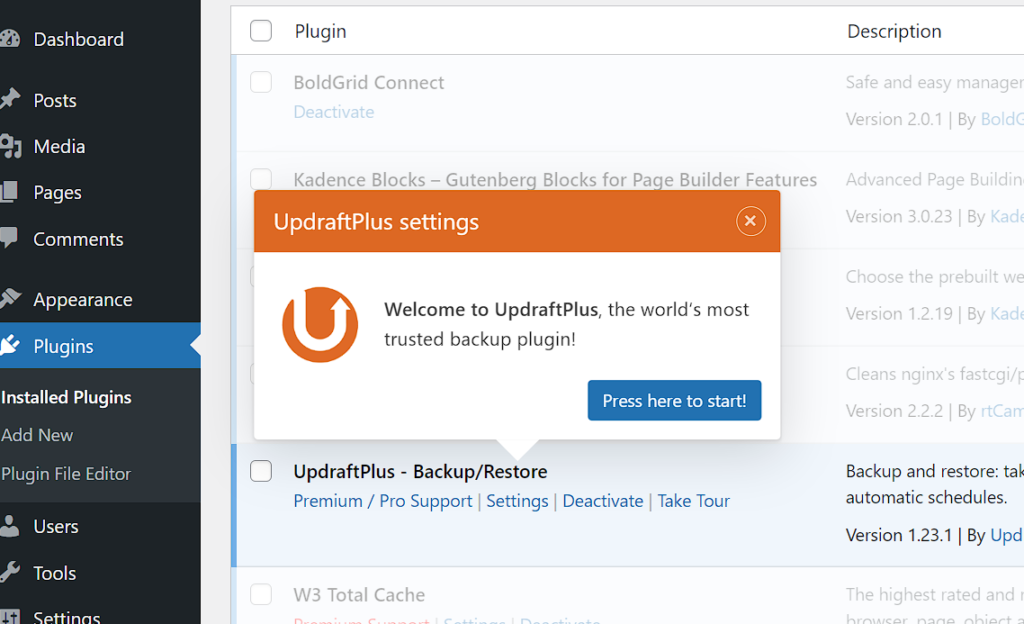
When you first install the plugin, you will be taken to the plugins page with a tour visible. This tour has a link to go to UpdraftPlus settings. Click on the button labeled “Press here to start!”
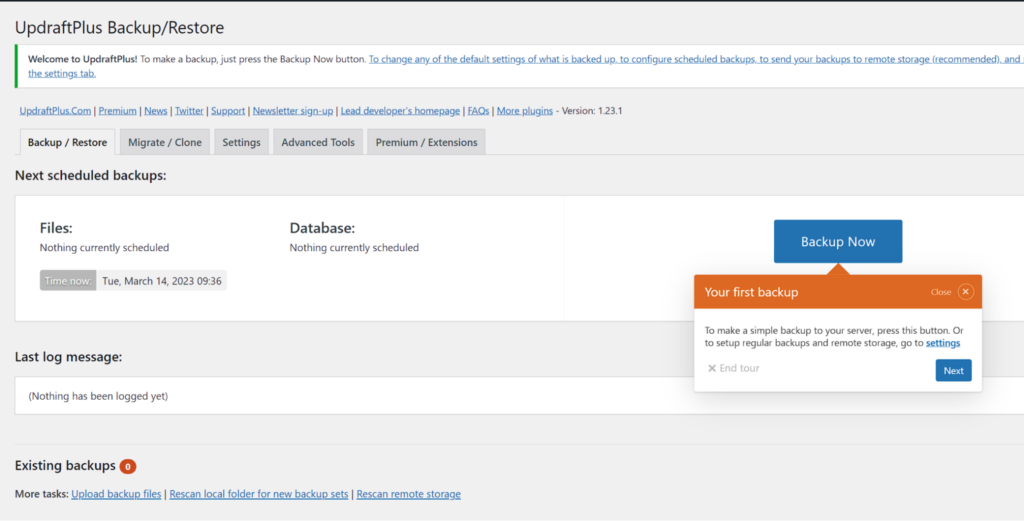
You will land on the Backup/Restore page for UpdraftPlus, where you will take the backup we need to migrate your website. Click Backup Now to begin this process:
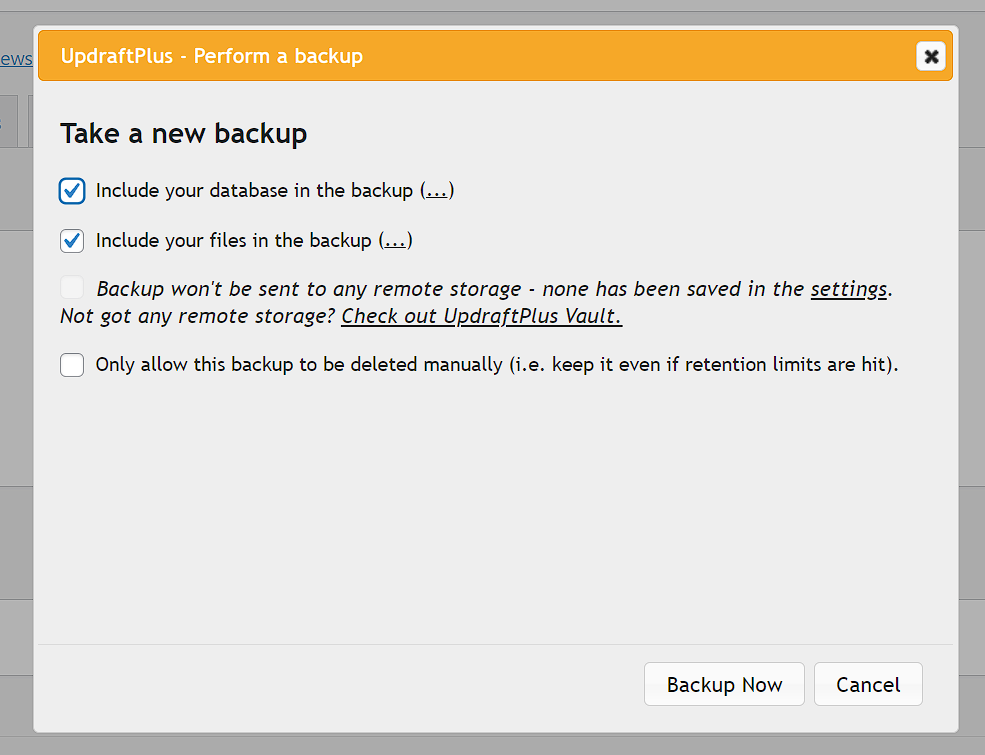
You will be prompted to select what you want to be backed up. For a migration, we want to select both of these options for database and files. To begin the backup, click Backup Now.
You will see a progress indicator, giving you information on how long this process should take:
 Download the Backup Files
When the backup is completed, you will need to download all of the zip files for the database, plugins, themes, uploads and others. Click the appropriate button to begin downloading the zip files, and you will be presented with an option to “download to your computer” for each individual archive.
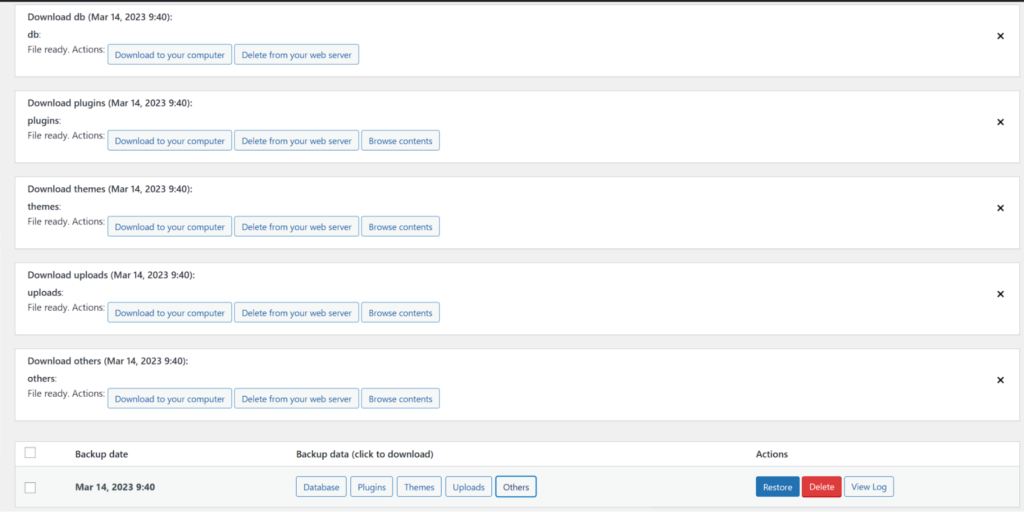
Now that you have the archives all downloaded, it is time to upload, and then restore them on the new host.
Uploading the Backup FilesLogin to your WordPress Dashboard for the destination host, and navigate to Settings > UpdraftPlus Backups.
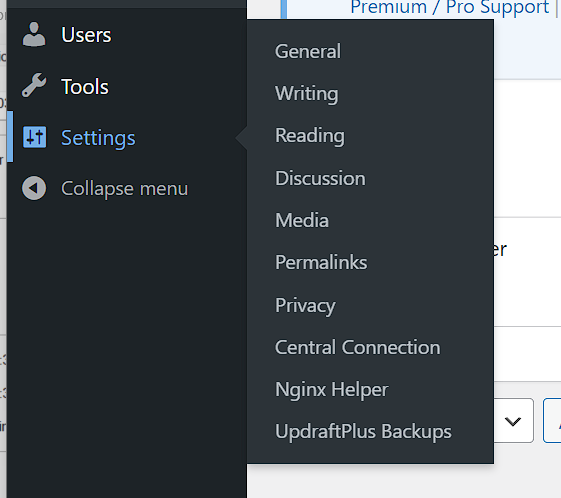
Scroll down to the Existing Backups section and click Upload backups files.

Here, you can either drag your files in, or click select files to open up the file manager on your OS to select the files to upload.
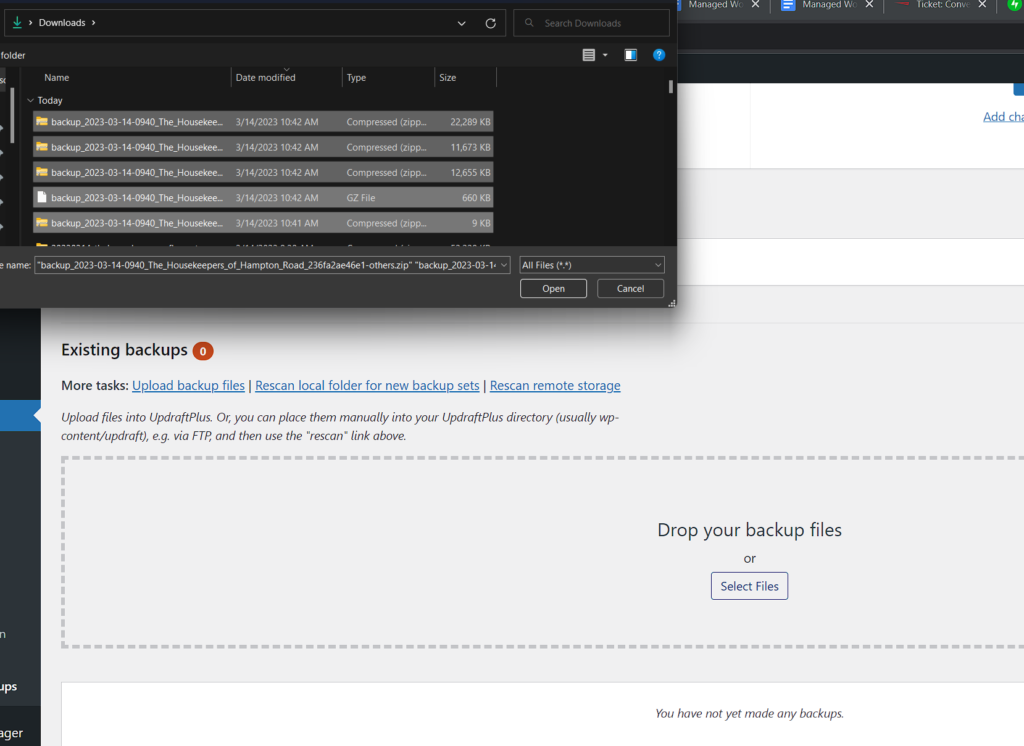
Once the files have been uploaded, you can now restore your backup.
Restoring the Backup Files on the New HostClick Restore beside the backup you just uploaded to begin this process.

Select the components you want to restore. Since we are migrating this site, we will select them all and then click Next:
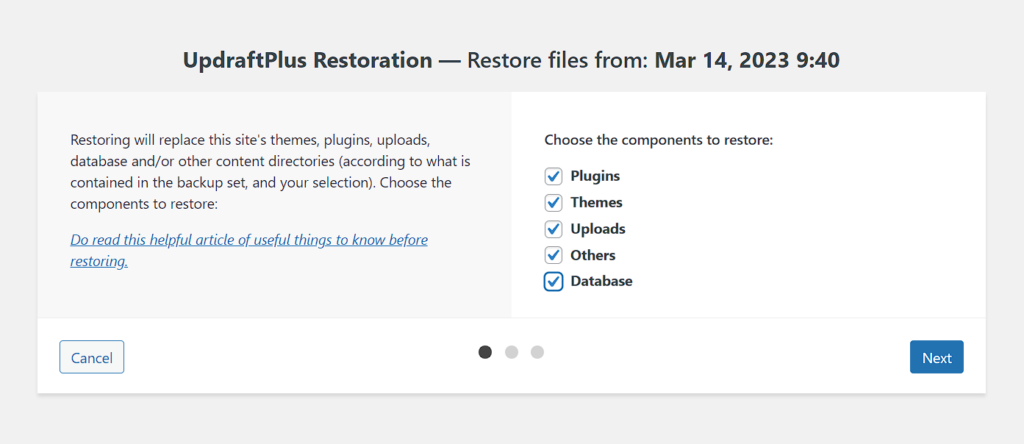
Now, you can use this step to exclude database tables, but we do not need to do that for this migration’s purpose. Click Restore.
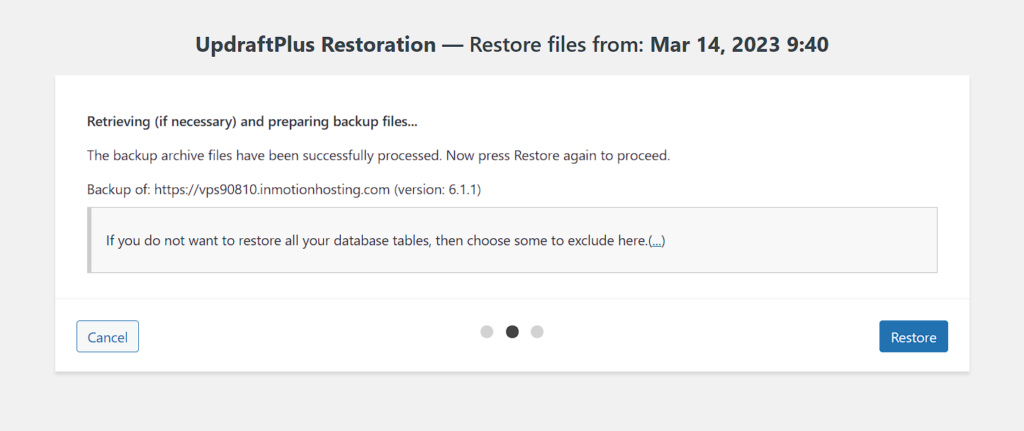
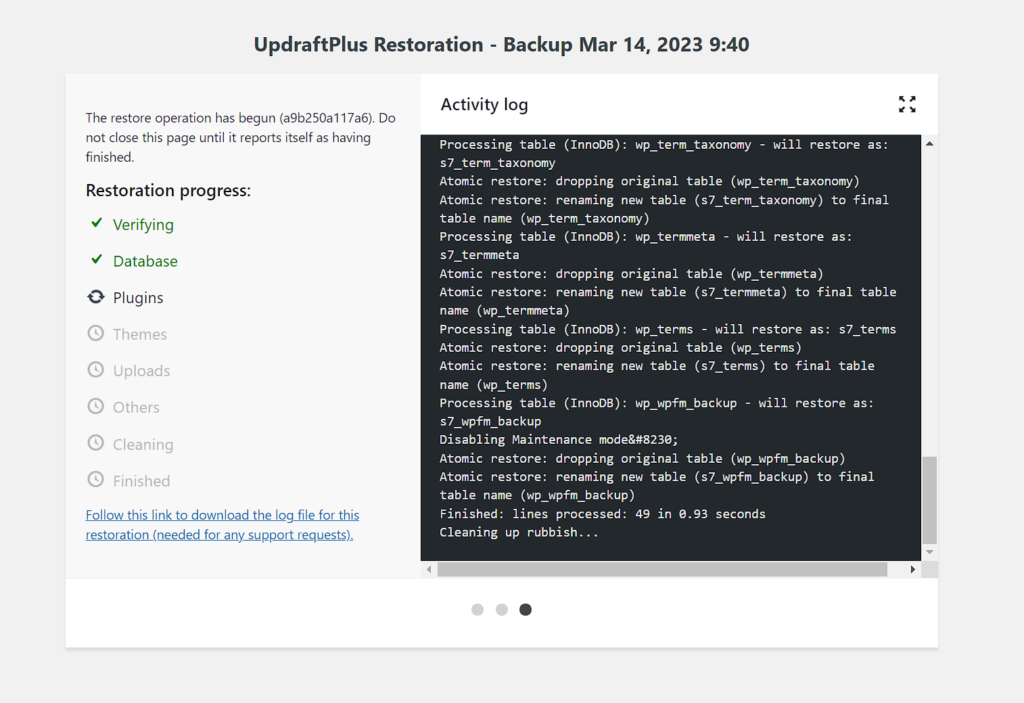
The Activity log gives you a detailed description of what is happening while the restore is happening. You also get the option to download the log file for closer inspection.
To go back to the WordPress installation, click the button labeled Return to UpdraftPlus configuration.
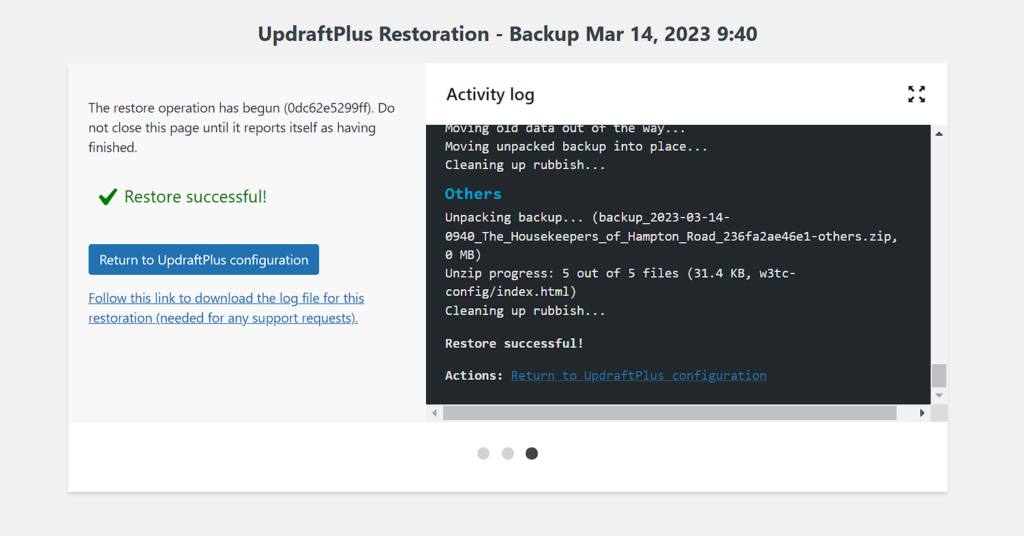
You will be presented with a notice that the restoration was successful and you have some old folders that can be cleaned up once you verify the restoration was successful.
 All-In-One WP Migration
All-in-One WP Migration allows you to transfer the content of a WordPress website easily. The following steps will assume that you have already installed the WordPress plugin on both your source and destination website.
 Exporting your WordPress Content with All-in-One WP Migration
Navigate to All-in-One WP Migration > Export
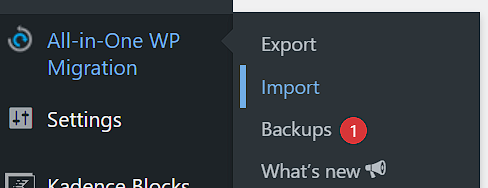
Click the green 3 bar menu next to Export To

You are given a set of options, select File by clicking it.
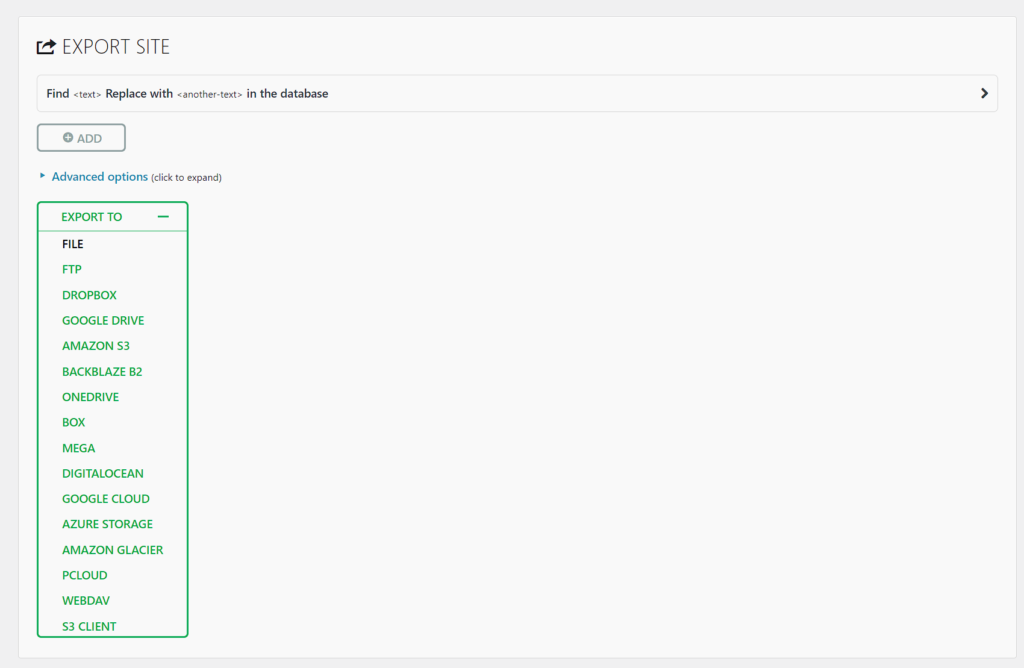
During this archive process, you will be shown progress indicators.

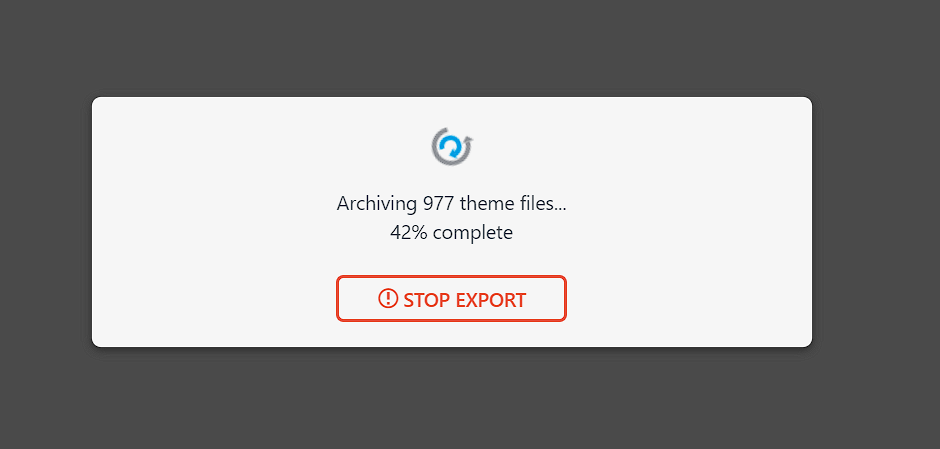
Once the archive is complete, then you will be able to download the export file. Click the green download button shown here to begin the download.
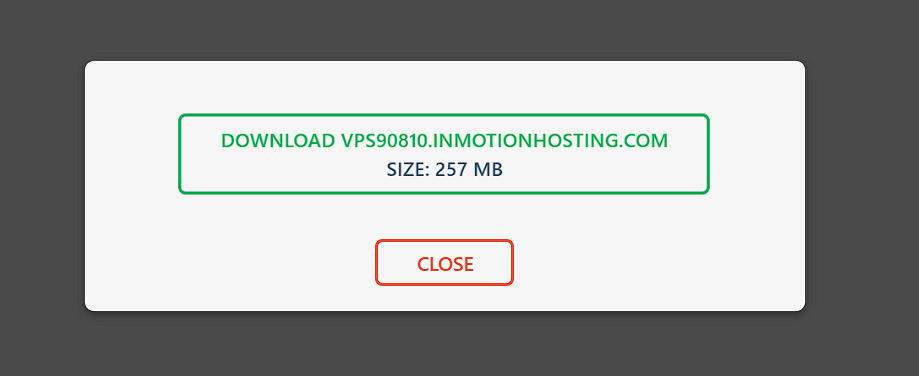
You will be prompted to save the file, go ahead and click Save. This will save the file to your computer.
 Upload Export File to New Host
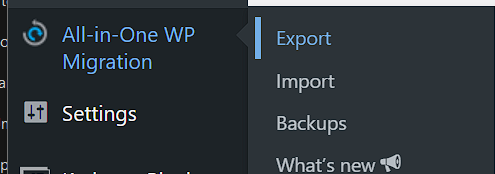
Navigate to the WordPress site on your new host, and in the Dashboard go to All-in-One WP Migration > Import
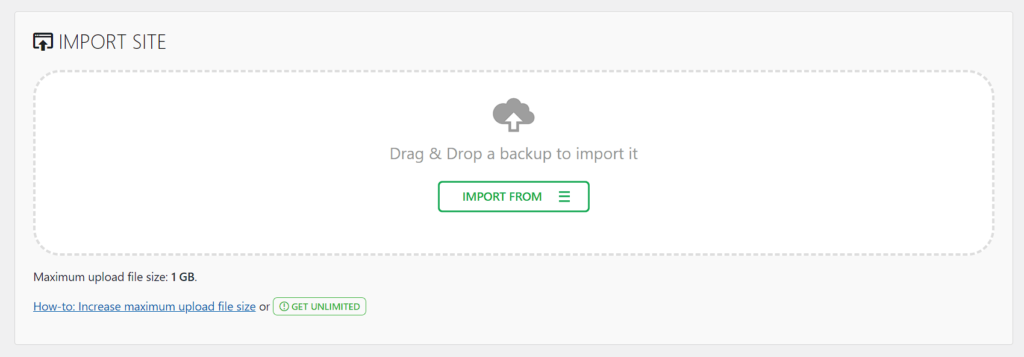
You will be presented with an upload screen, where you can add the file you just downloaded from the source site.
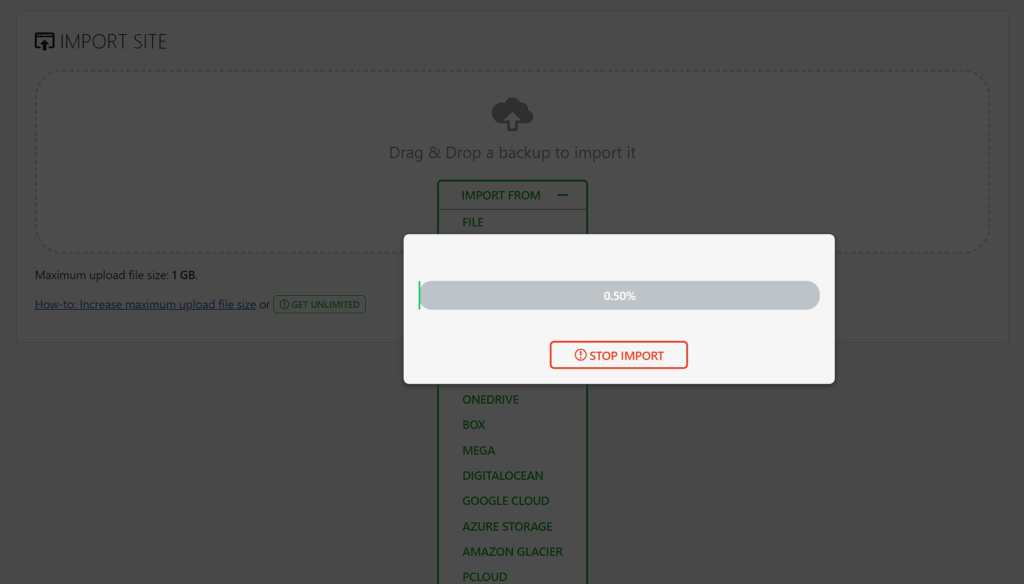
Once you begin uploading your file, you will be presented with a progress indicator.
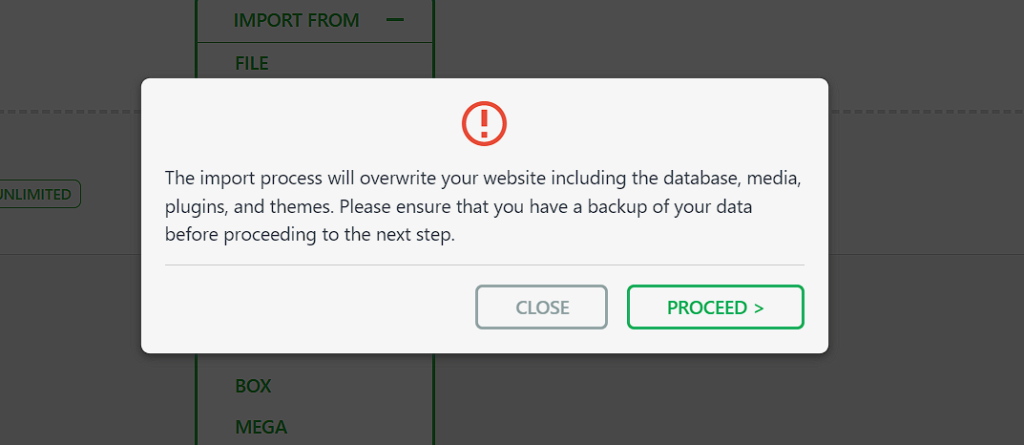
Once the backup has uploaded, it will present you with the option to restore, and explain the process. If you are ready to restore the file, click Proceed.
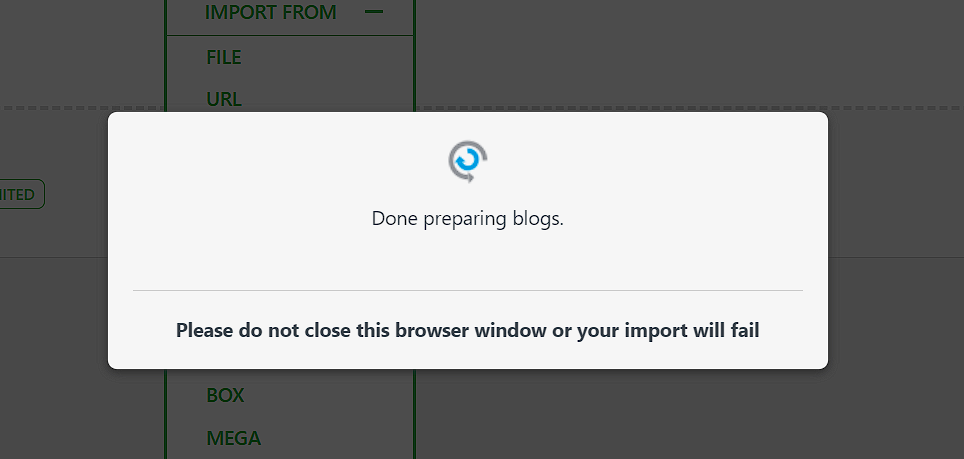
Next, you will see a progress indicator showing how things are moving along.
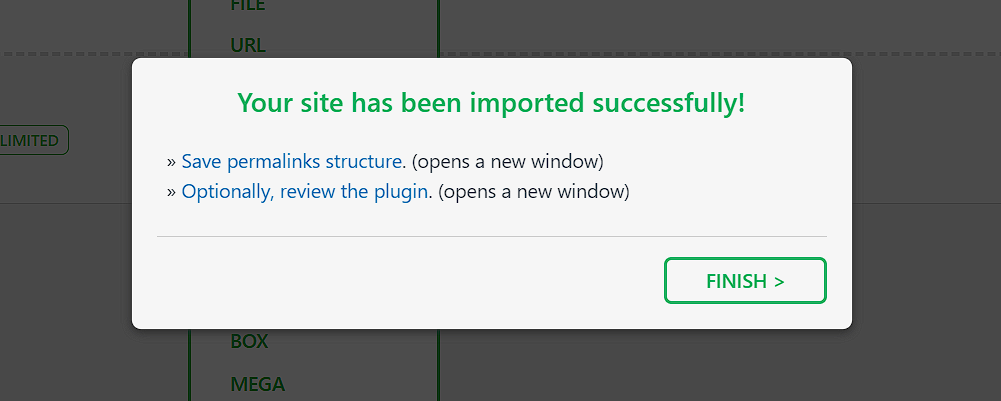
When the restoration is complete, you will be presented with a success message, and a link to set your permalinks post restore.
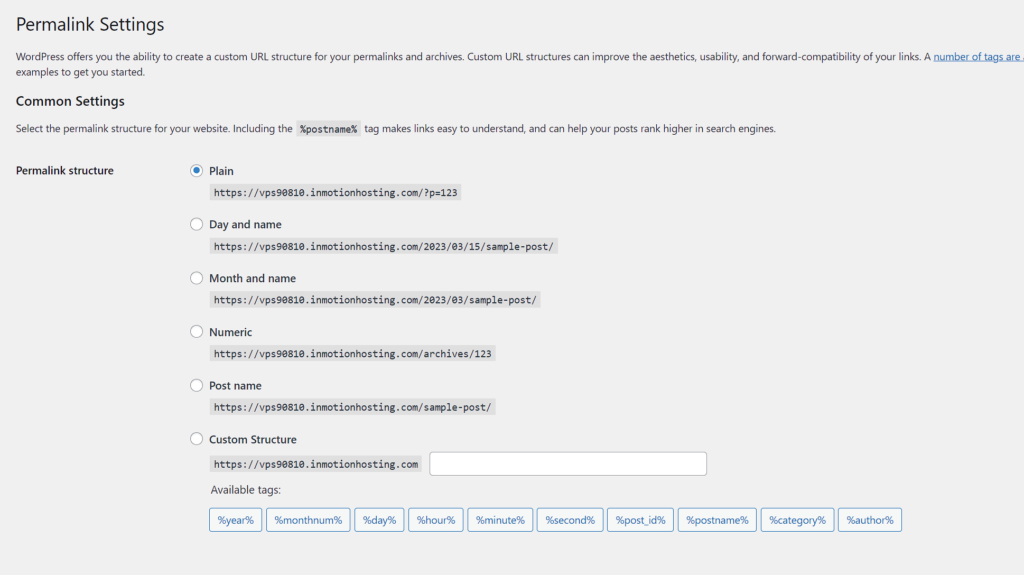
After restoring, my site permalinks were set to plain, so I adjusted those based on my preference and saved.
The site was restored successfully and everything worked as expected once the restoration was complete.
WP Migrate LiteWP Migrate Lite can export your entire site, including the database, media uploads, themes, plugins, and other files required to create an exact copy of your site in a new environment. In the interface you can configure your export, choose what you want to include or exclude, and then grab a downloadable ZIP file of your complete site.
The following steps will assume that you have already installed the WordPress plugin on both your source and destination website.
Exporting a Copy for MigrationTools > WP Migrate
On the top menu, click Migrate.
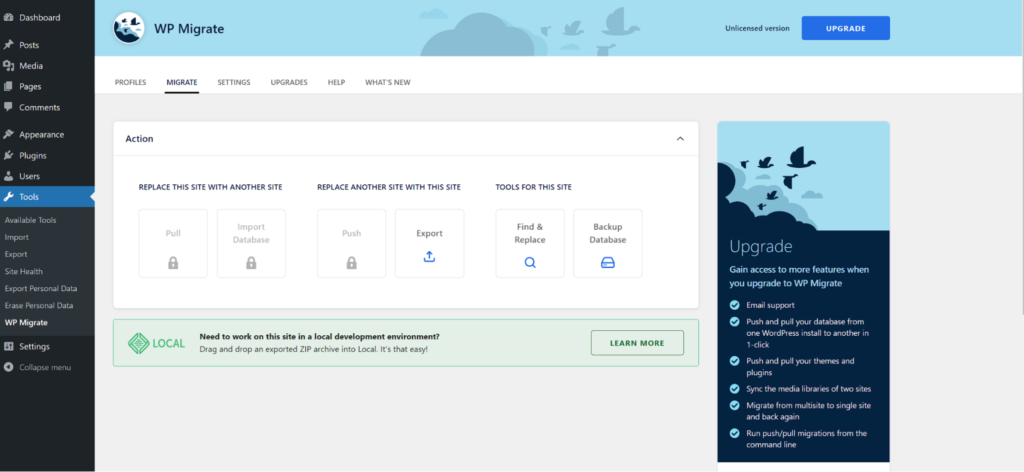
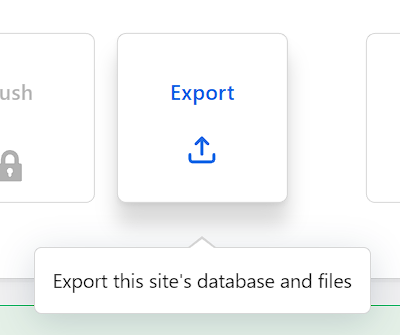
Under “REPLACE ANOTHER SITE WITH THIS SITE,” click Export.
Next, you will customize the settings for the export. For the database, you can also setup a search and replace to ensure things work once you migrate to the new host.
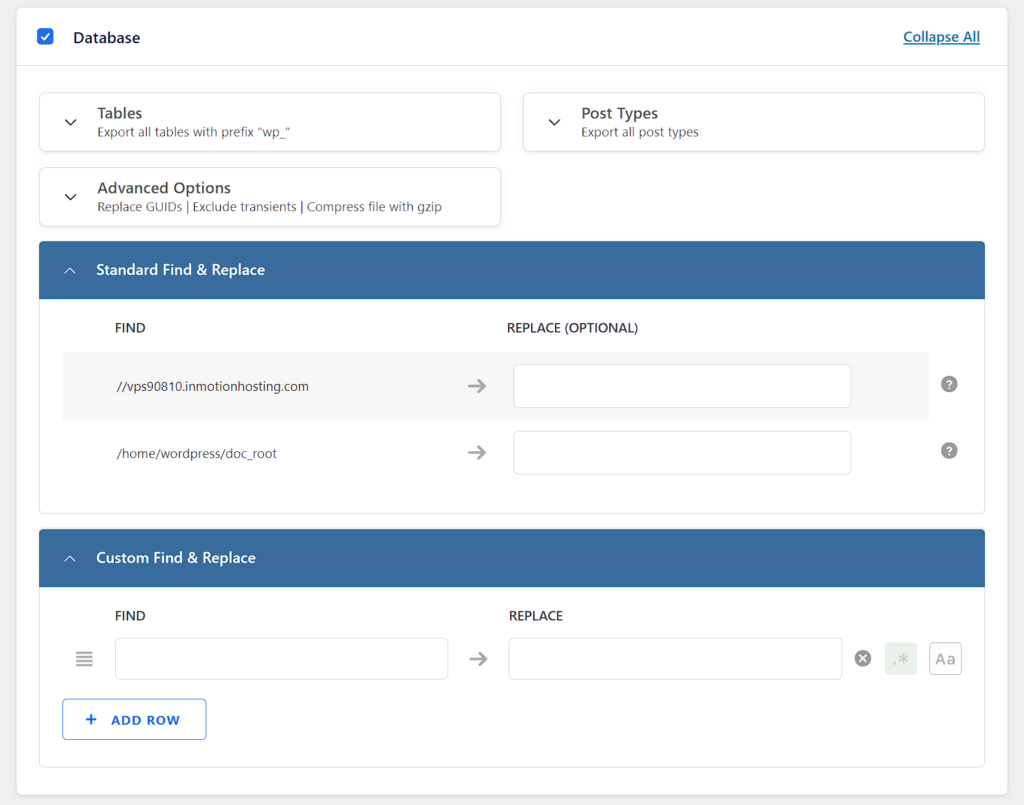
For the remainder of the items, you want to select which you are going to export for migration.

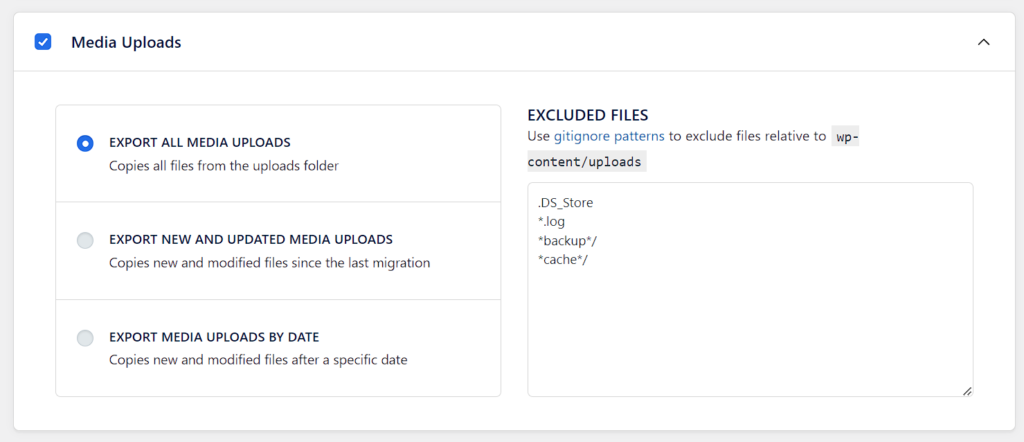
For Media Uploads, make your selection. It is recommended to keep all media uploads during the transfer.
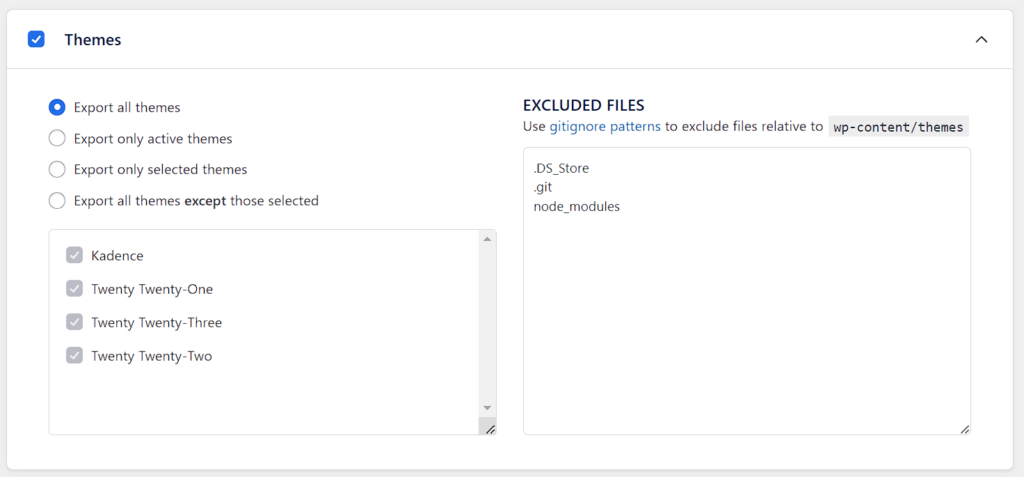
Select which of your themes to include in the migration.
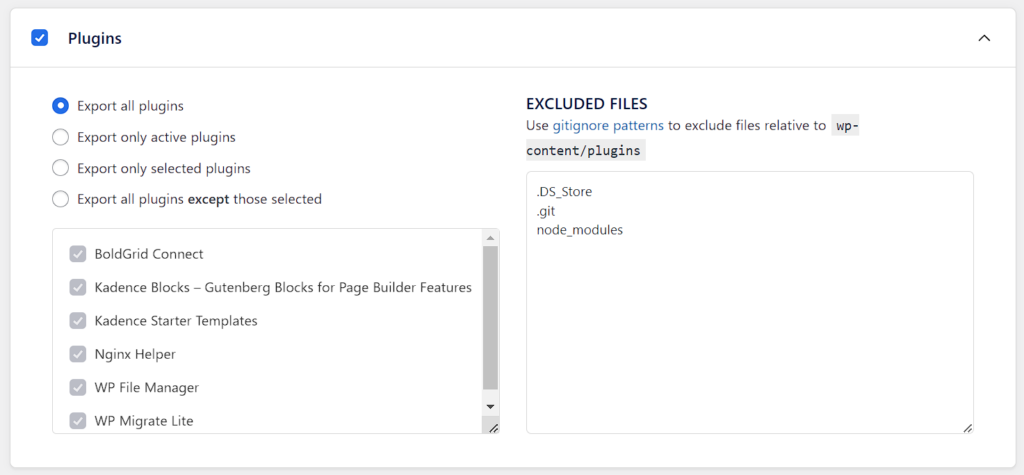
Select whether to export all plugins, or choose from the other options presented to you.
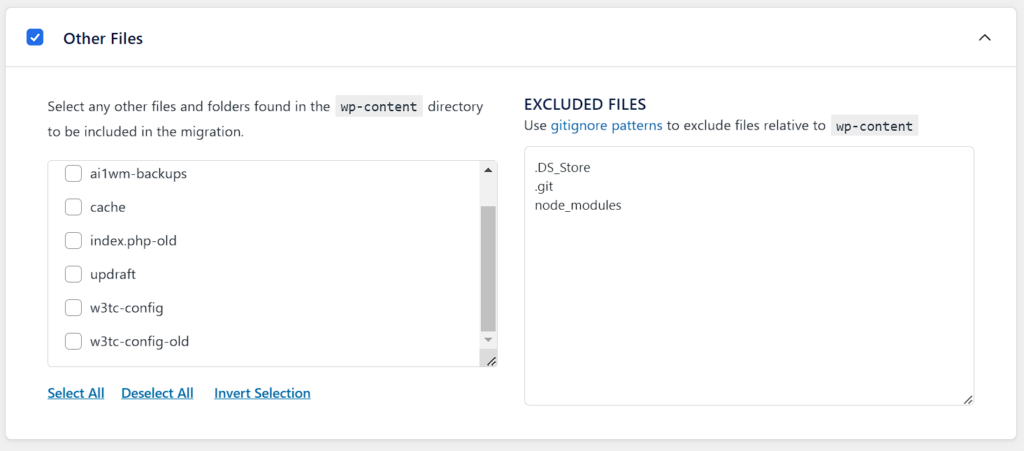
Other files
Select whether to include WordPress core files. We suggest you do if moving a whole WordPress website. Now that all the options you want to migrate are selected, it is time to export this installation.

There is a progress indicator to help show where you are, and once complete, you will be prompted to download a zip file with everything in it you selected previously.
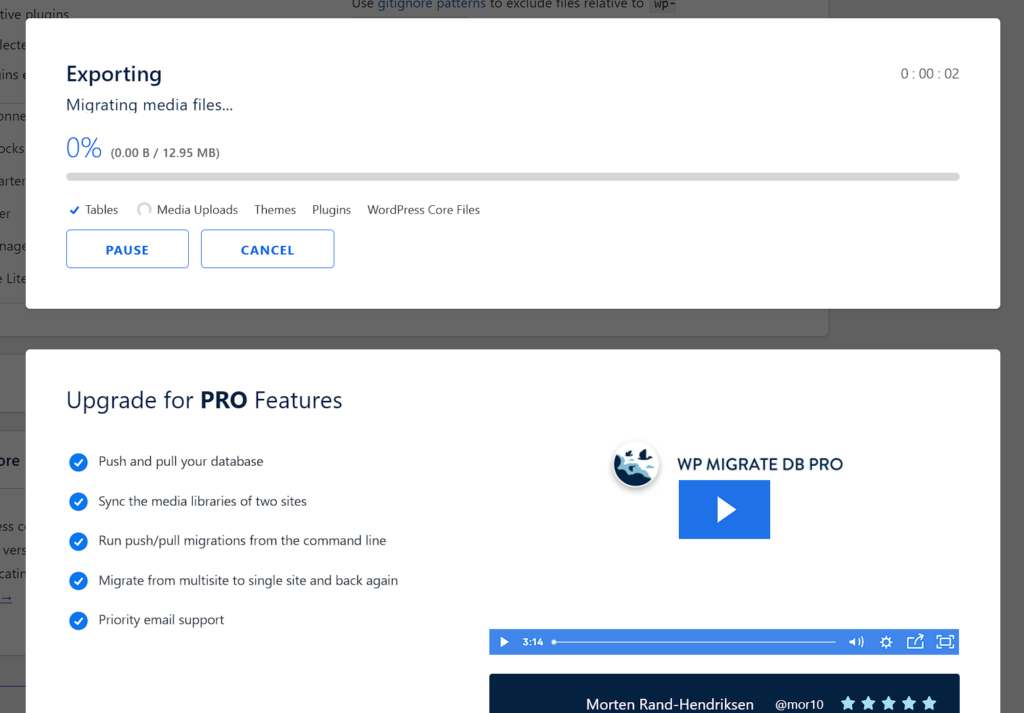
Once it is completed, you will be presented with the following display:
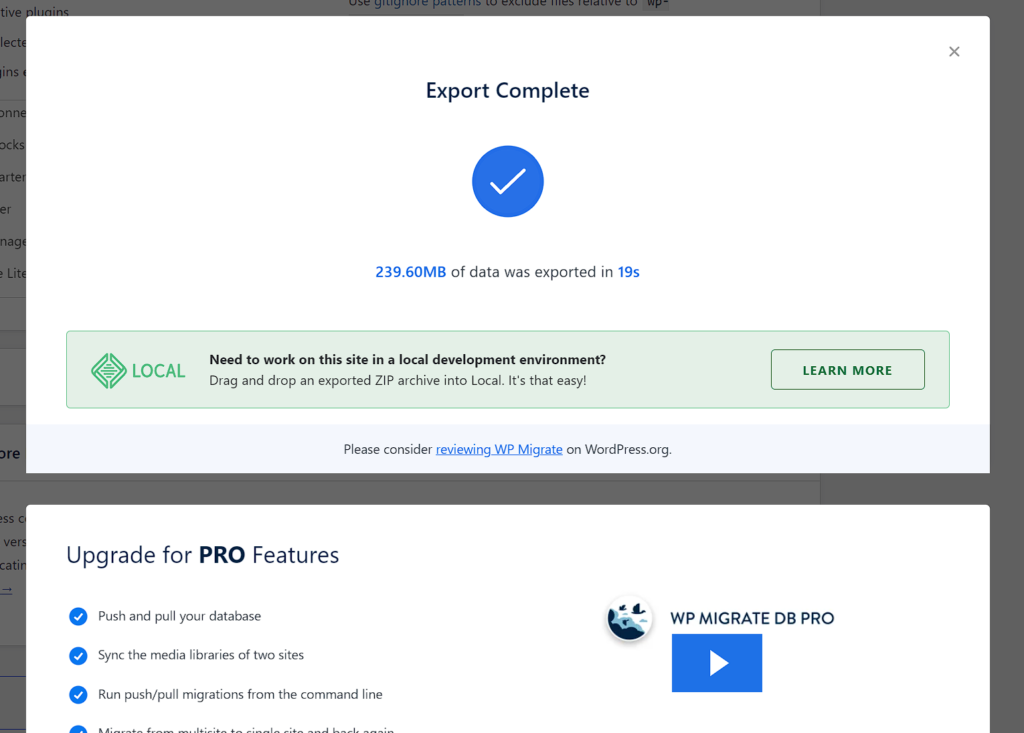
Migrating your files to the new host with the plugin will require upgrading, but if you view the zip file, you have access to the database plugins, themes and uploads to move to the new installation.
Migrate Guru Setting the Migration Up at the Source Site
Once Migrate Guru is installed, navigate to the Migrate Guru menu item on the left hand menu in WordPress. You will be presented with the Migrate Guru Dashboard.
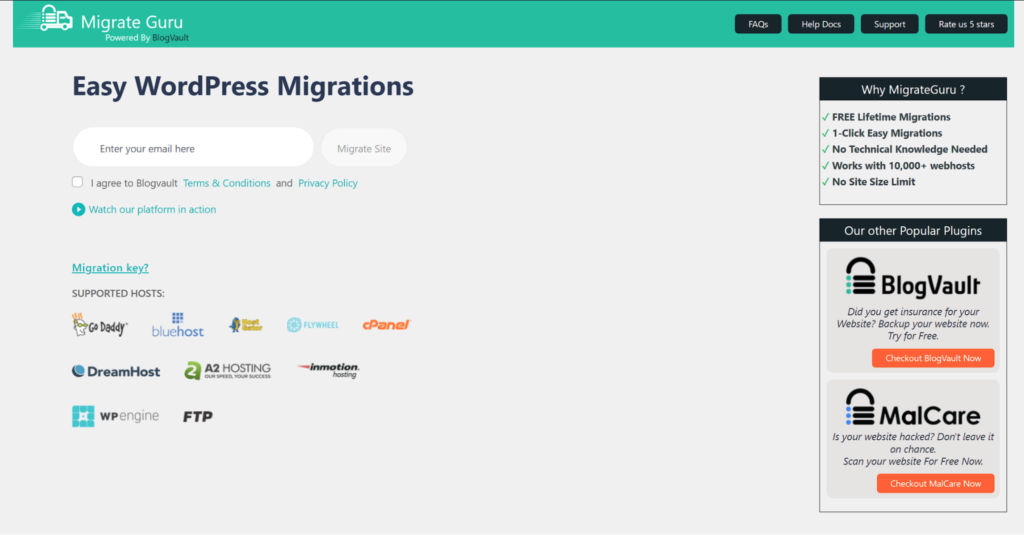
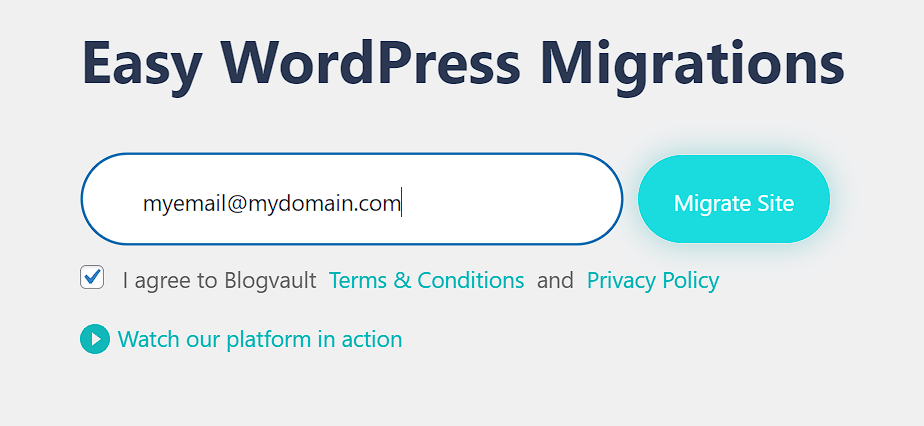
First, enter your email address and agree to the terms. Once these steps are completed, you are able to click the button that is labeled “Migrate Site.” Click it to begin the migration.
On this next step, click on Other Hosts.
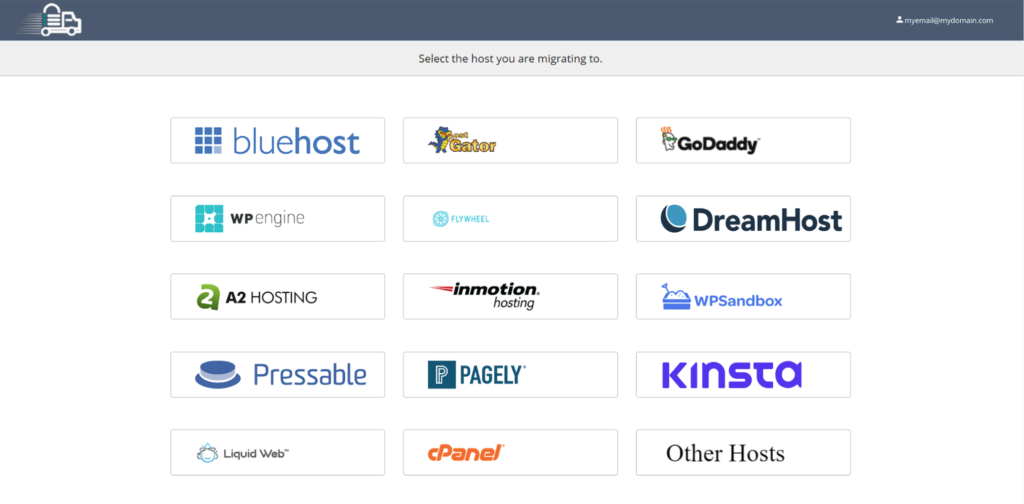
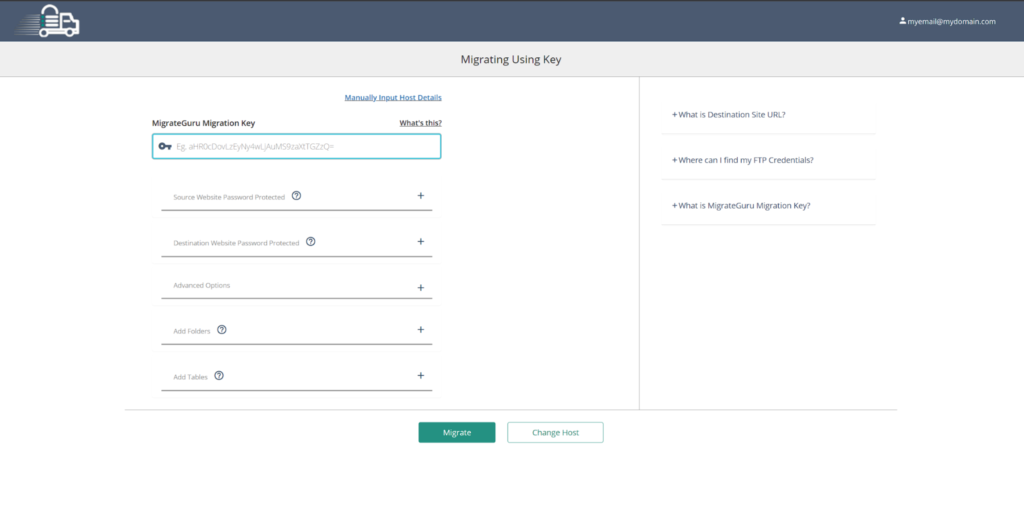
You will be asked for a key, which you can proceed to the destination site to get.
 Setting Up the Destination Site at the New Host
Now go to the destination site, and install the plugin.
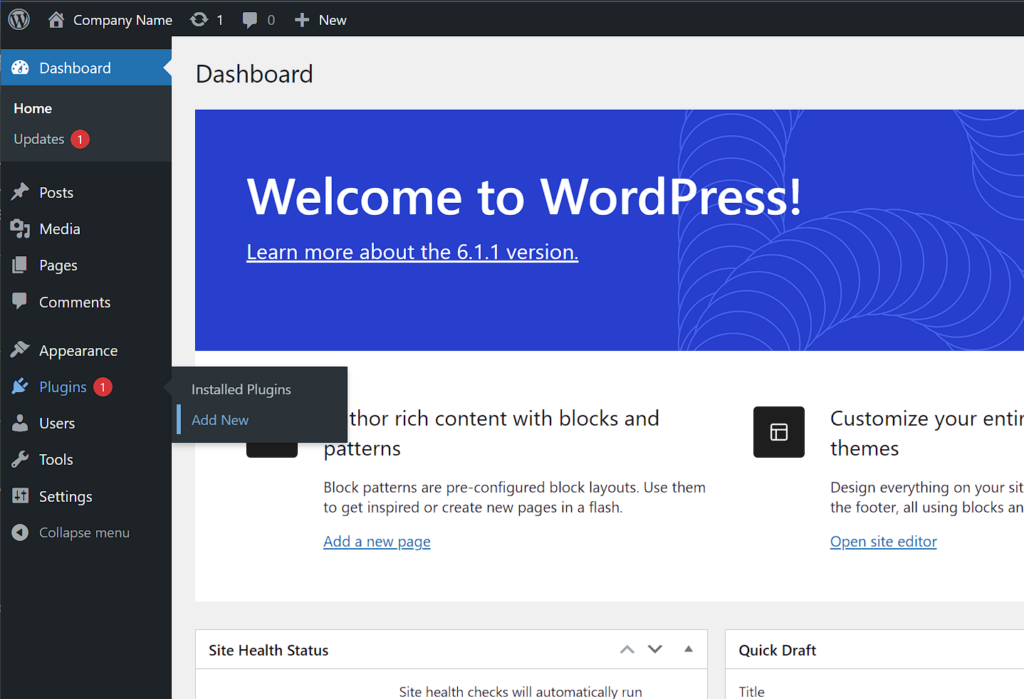
Once Migrate Guru is installed, navigate to the Migrate Guru on the left hand menu, and click Migration Key.

Copy the key, and head back to the source website you are transferring here to begin the process.
 Add the Key to the Source Site to Begin the Migration
Once you have copied the key you obtained from the destination site, you can provide it to the interface on the source site by pasting it in.
Adding this key automates the rest of the process, and feedback is provided along the way.
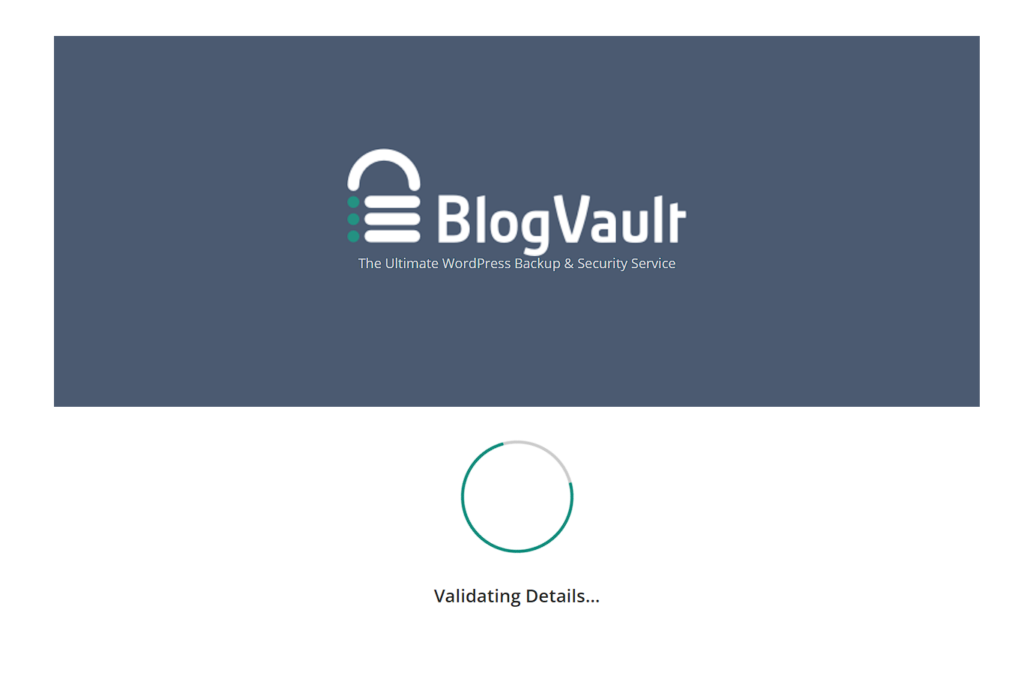
After your details are validated, the backup, migration and restoration process will begin. The progress indicator helps understand where you are in the process while it is happening.
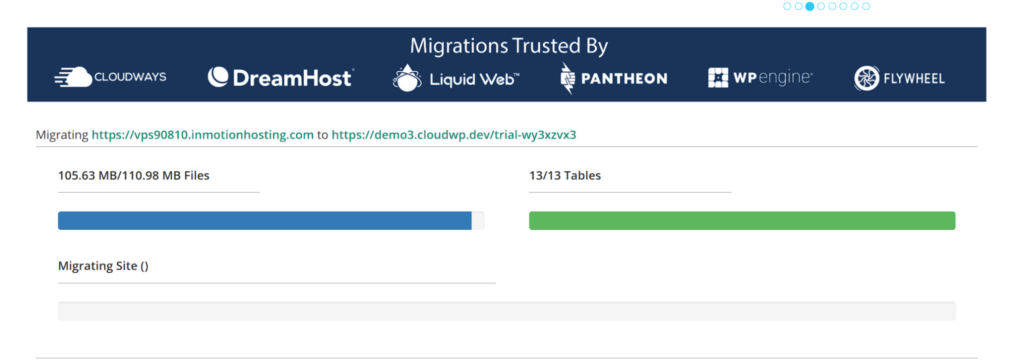
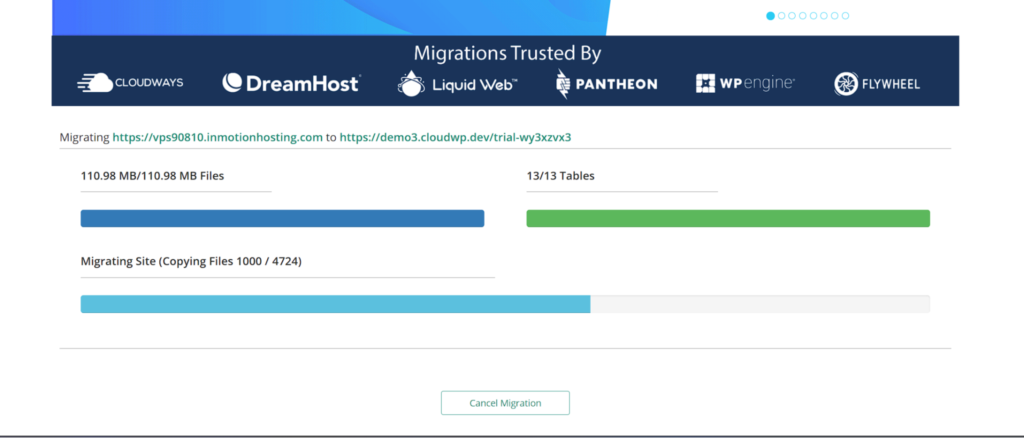
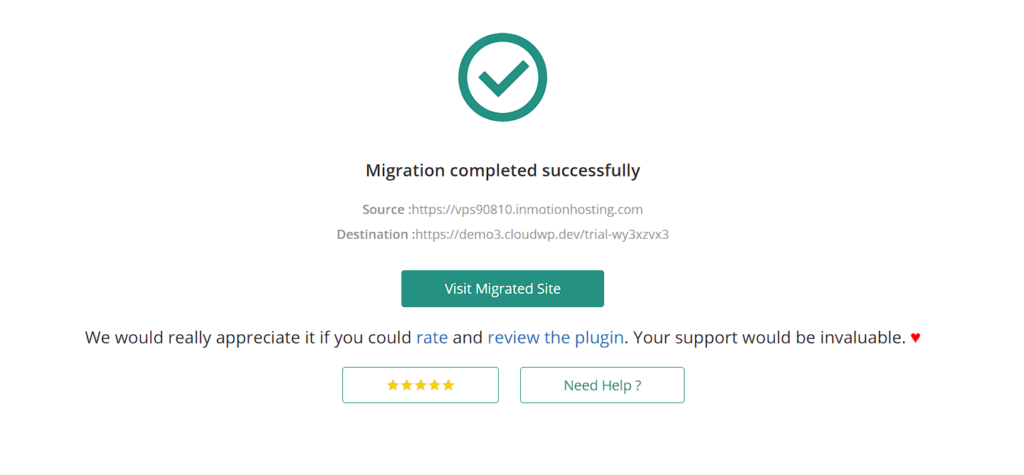
Once the move is complete, you will be notified with a success message.
 Other WordPress Plugin Options – Premium Only Plugins
The above list of plugins for migrating WordPress sites are not exhaustive, and there are several other options available. Most of these are premium, or paid products, so we did not review them as part of this guide.
In the spirit of writing a complete guide, the following products have premium options which we did not review as part of this guide, though we may include in a future update. Stay tuned!
VaultPress (Part of Jetpack)
https://vaultpress.com/BackupBuddy
https://ithemes.com/backupbuddy/Manually Migrating WordPressThere are several methods to manually migrate a WordPress website. For the purposes of this guide, we will give a brief overview of some command line tools like SSH and SCP and some graphical interfaces that will assist with the migration such as a FTP client, file manager or phpMyAdmin.
Command Line ToolsBefore we get into some practical examples, we will give an overview of some of the command line tools you can use to transfer files between servers, and some other tools that are very helpful when migrating websites from one host to another.
SSHThe SSH protocol, or Secure Shell, is a method for secure remote login from your local computer to another.
SSH has strong authentication methods, especially when used with encryption keys. It is a secure alternative to insecure login protocols such as telnet or rlogin, and insecure file transfer methods such as FTP.
For Platform i, you can easily add your SSH key to the interface, which will give you root access to your VPS.
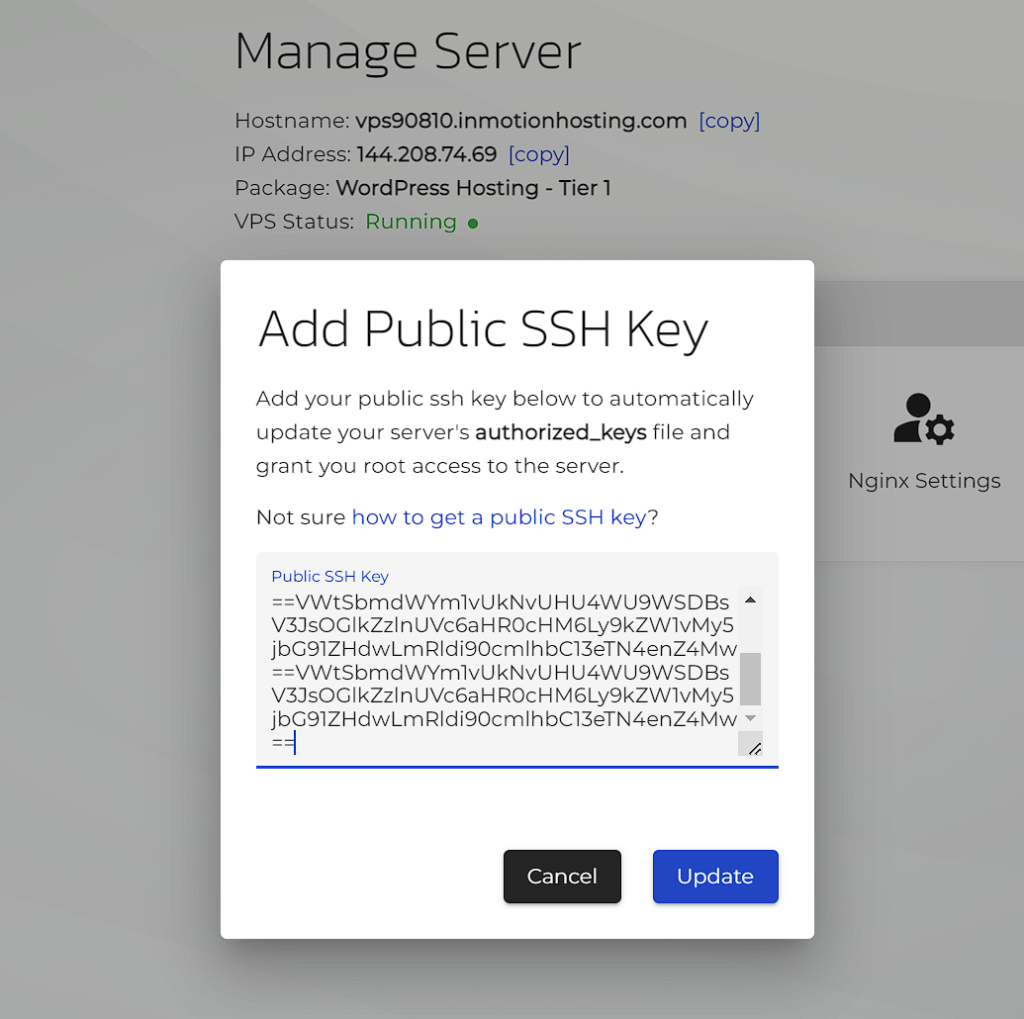
Once you have added your key, you can SSH into the server as the root user.
username:~$ ssh [email protected]SCPSCP stands for Secure Copy Protocol, and is a command line tool that allows you to copy files from your local server to a remote one, vice versa or between two remote servers.
SCP uses ssh for file transfers, so it is just as secure. In order to use the command, you will need to have accounts on both servers that you can authenticate, whether through password auth or keys.
The syntax to use scp is pretty straightforward, and you can find all you need on the man page for SCP Options.
scp [OPTION] [user@]SRC_HOST:]file1 [user@]DEST_HOST:]file2sFTPsFTP stands for secure file transfer protocol. It is a network protocol that provides file access, transfer, and management over a connection.
sFTP is an extension of the Secure Shell protocol (SSH). It provides secure file transfer capabilities. sFTP can be used in various applications. These include secure file transfer over Transport Layer Security (TLS), and transfer of management information in VPN applications.
The sFTP protocol allows for a range of operations on remote files. An sFTP client can perform many different tasks. These include resuming interrupted transfers, providing directory listings, and remote file deletion.
RSYNCrsync is a command line utility for transferring and synchronizing files between two computers. It does this by comparing timestamps and file sizes between the two.
When running rsync, it will use SSH to connect to remote-host as username in the example provided. Once connected, it will run the remote host’s rsync and determine what parts of the local file need to be transferred so that the remote file matches it.
rsync local-file username@remote-host:remote-fileMySQL Command Line ClientMySQL is a SQL Shell with editing capabilities. It allows you to connect to a database and run queries interactively, or use filters to display data stored in the database.
The output can be formatted using options, but the basic syntax for connecting is the following:
mysql --user=user_name --password db_nameFor migration purposes, mysql can be invoked to import a sql file easily, allowing for quick and reliable website migrations.
FTPFTP is a network protocol for transferring files over TCP/IP. FTP is considered an application level protocol that is part of the TCP/IP suite.
To use an FTP client, the server you wish to connect to must have an FTP server installed. The computer you are using to connect must also have client software to facilitate this connection.
To connect using an FTP client, first you would enter the software by typing FTP on the command line.
FTPNext, you would open a connection to the FTP server you are connecting to.
open ftp.myserver.comOnce you are connected, there are a variety of commands you can use to manage your files.
Some examples include dir, get and put.
dir -C lists the files in wide format.dir -1 lists the files in bare format in alphabetical orderdir -r lists directory in reverse alphabetical order.dir -R lists all files in current directory and subdirectories.dir -S lists files in bare format in alphabetical order.get myfile.html would grab a file from the remote computer and put it on your local one. put myfile.html would grab the file from your local computer, and put it on your remote server. File ManagerFile managers are software interfaces that let you view and manipulate the folder and files within your computer’s directory. For a web server, a file manager can be used for editing the files within a website’s document root, and for moving files around quickly. For tasks that need to be handled in a pinch, a file manager can be a great solution.
With file managers, however – there are limitations. These can include upload file size and even download size, as the requests route through the webserver and PHP, unlike the other command line utilities mentioned above.
phpMyAdmin or AdminerFor managing a database, you can use graphical tools such as phpMyAdmin or Adminer. These interfaces allow you to quickly see database structures and modify them.
For larger databases, command line tools are preferred but when you just need to handle something quickly, an interface can come in handy to accomplish the task at hand.
Migrating from a Hosting BackupWith most web hosts, backups are available in one form or another. These can originate in a number of ways. Backups can be generated from a control panel service that a host resells or includes with their plans. Another way backups can be generated comes from proprietary solutions that some hosts have developed in house.
Either way, these backups can be useful in migrating a website. They will contain the files and database needed for the site to work, and the following information will be about extracting that data, and using it to migrate your WordPress website.
This route is usually less preferable when moving between hosts, because the cross compatibility of one company’s backups to another is usually rare. The exception is when moving from one host to another that resells the same 3rd party system, such as Plesk or cPanel.
Previewing Your Site After the Big MoveThere are a few ways to preview your WordPress website after migrating to ensure everything is working before changing your DNS over. This includes using a host file modification to trick your browser, or using a temporary URL such as your server’s IP, Hostname, or a subdomain.
Host File ModificationsOn all Operating Systems, there is a hosts file that you can use to map DNS entries that tell your computer and browser what server to resolve to for a domain name.
This file is usually named hosts, with no extension. To change this file, the instructions are different depending on the operating system you are testing the website with.
Before we begin, you will need the IP address the site is hosted on.
 Windows
Open notepad.exe as Administrator.
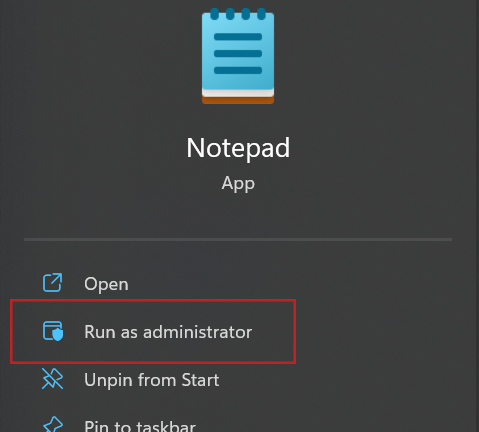
Once you have Notepad open, click File > Open and navigate to the etc directory here:
C: Windows > System 32 > Drivers > etc

If you do not see the file hosts, be sure to select “All files (*.*)” at the bottom of the dialogue
Once you have the hosts file open, you can add the entry as follows to trick your computer into viewing the website on the new host.
144.208.74.69 mydomainname.com www.mydomainname.comThe hosts file should look similar to the following image:
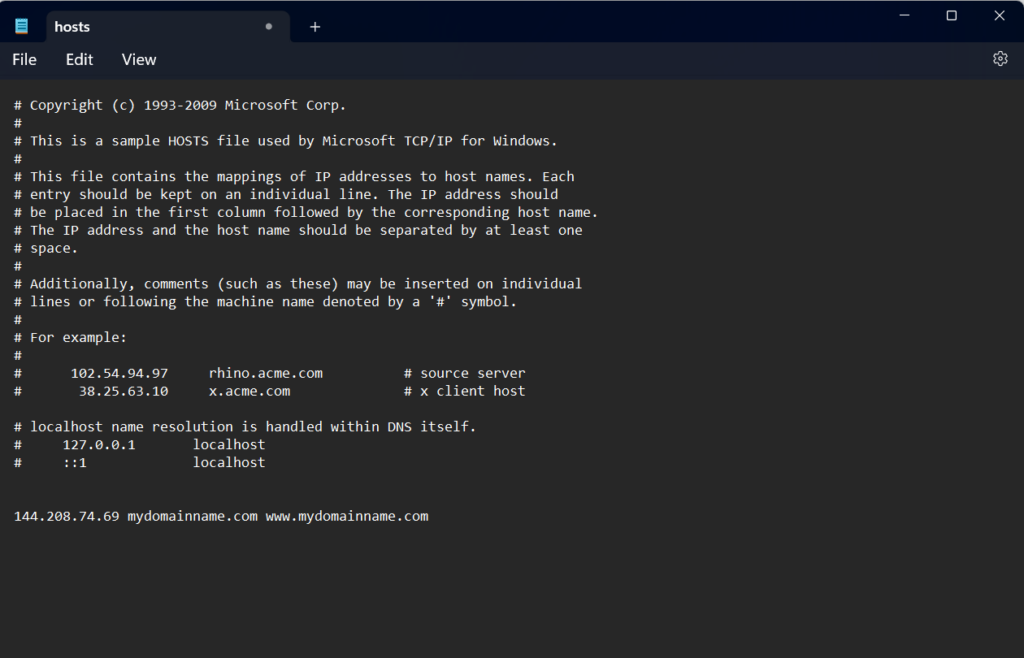
Save the file, and visit mydomainname.com in the browser. You should be able to see the site as it exists on the new host.
Mac / OS XFor Linux, modifying the hosts file is very similar to the Windows instructions, but the file is located in /private/etc/hosts. To edit it, you can use your favorite text editor. This file operation does require sudo or root access.
LinuxFor Linux, modifying the hosts file is very similar to the Windows instructions with one exception. The file is located in /etc/hosts. To edit it, you can use your favorite text editor. As with the other Operating Systems, his file operation does require sudo or root access.
Temporary URLsAnother option you have with some WordPress hosting providers is a temporary URL. This can be your hostname, or a custom subdomain provided by the host.
With Platform i, your temporary URL would be the one provided as your URL with an UltraStack VPS.
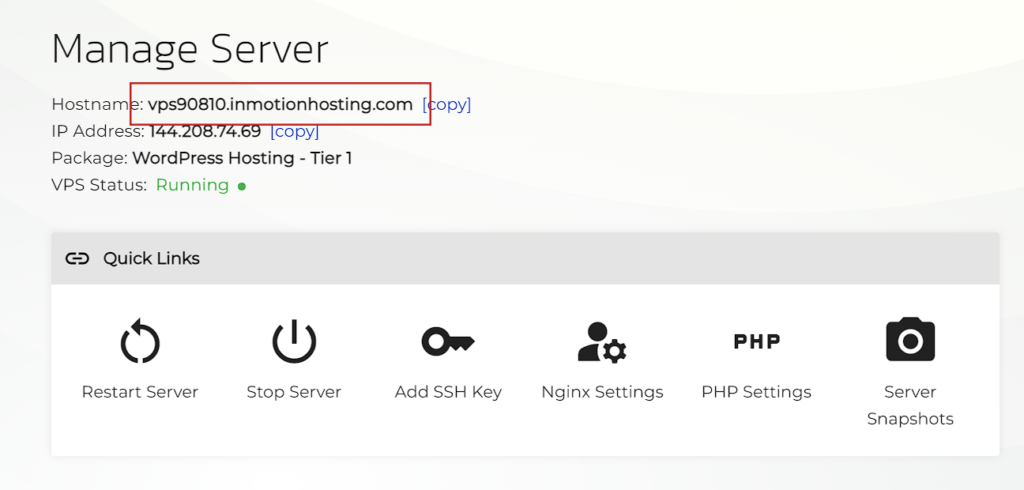
Copy this URL and paste it into your browser. If you have not updated your site URL yet, you should see the website at this URL.
Search and ReplaceIf you are using a different URL than WordPress expects, you will likely run into some issues. Your images also use an absolute URL to be served. This is a common task you should be familiar with when migrating WordPress from one host to another.
To run a search and replace, you have a few options. You can use wp-cli, a WordPress plugin, or even run a MySQL query.
wp-cli search replace CommandThe wp-cli command for search-replace can be used to update your siteurl and home values in the database, as well as update any media, links or menu items throughout your database.
wp search-replace 'http://example.test' 'http://example.com'This will update all the instances of http://example.test found in the database to http://example.com.
When you’re using search-replace, it’s also sometimes a good idea to do a “dry run” first to make sure that your search and replace terms are giving you the expected changes. You can do a dry run by adding the –dry-run modifier to the command. Then, if you’re satisfied, you can run the command above to make the database changes.
wp search-replace 'http://example.test' 'http://example.com' --dry-runNote: This step requires the DNS for the domain you are updating to resolve here, or that you have a host file modification in place to view it correctly. Search and Replace WordPress PluginsThere are quite a few plugins available with this functionality, and they are straightforward to use in most cases. We will not go in depth on the instructions, because of the ease of use.
MySQL Search and Replace QueryYou can also run a query against MySQL that will update your database. The syntax, in it’s most basic form, is the following:
REPLACE(str,old_string,new_string);Your Domain & DNSSo you have finally finished migrating, and testing your WordPress website. What is next? Changing the DNS. For an eCommerce migration, this could mean resyncing your database one final time to ensure no data is lost, but if you are not – then it is time to just change your DNS.
The steps for changing your DNS will depend on your registrar, or where your Nameservers are currently pointing.
DNS Changes NeededWhen you are updating your DNS, you have several options with most hosts. These options include Nameservers, A records, and in some cases CNAME’s.
You can point your Nameservers, and host all of your DNS records with your host in most cases. These will need to be updated at your registrar. An example of this is the records needed for hosting with us here at Platform i:
NAMESERVER: ns1.inmotionhosting.comNAMESERVER: ns2.inmotionhosting.comYou can also point your A record to the IP your host provides, but you want to also be aware of any other DNS records you need for other services on your domain. This could include mail subdomains and MX records, and many other DNS entries.
ConclusionMigrating a WordPress website from one host to another can be a complex task. But with the right tools and proper planning, you can eliminate all of the headache from the process. Whether your preference is GUI tools or command line utilities, with WordPress there are a plethora of solutions that all work.